As the name suggests, this software aims to be your best friend when it comes to dealing with partitions. It greatly simplifies the way you manipulate the disk partitions, be it creating, deleting, moving or re-sizing.
If you have no clue as to what disk partitioning means, I can explain it to you in a simple (and sufficient as of now) way. Your hard disk can be divided into physically discreet portions of specific or default sizes and formatted this way. These partitions are basically what you see as your C: D: E: F: and whatever drives you’ve got.
But why can I not have everything in one partition? That’s the problem, you see. The primary partition is the bootable partition that contains your operating system. So only the other partitions can be effectively shared between multiple operating systems, users and it’s always a good thing to never overload the primary partition, no matter how much free space it holds.
This is all you need to know, let’s get started then!
Compatibility check
The requirements of this software are stated as at least with X86 or compatible CPU with main frequency 500 MHz, a standard PC system with mouse, keyboard and color monitor, and the capability of the RAM memory equal or larger than 1.5GB. It supports the file formats FAT12, FAT16, FAT32, NTFS and EXT2/EXT3. Apart from hard disks of 2 GB to 8 TB size, the software also supports USB flash drives, memory cards and the like.
Installing EaseUS partition software
Installing EaseUS Partition Master is as simple and common as installing any other software. You have a minimal setup wizard where you agree to the license and choose a location for software installation. That’s about it.
Just download the EaseUS partition master software and run the exe file.
It asks you if you want to consult a manual or install similar software or proceed with the current software. Without a moment’s hesitation you can proceed to the current software as most of the functions are self-explanatory (plus I’m already walking you through all that you need to know about it!)
Finally, you are led to this window.
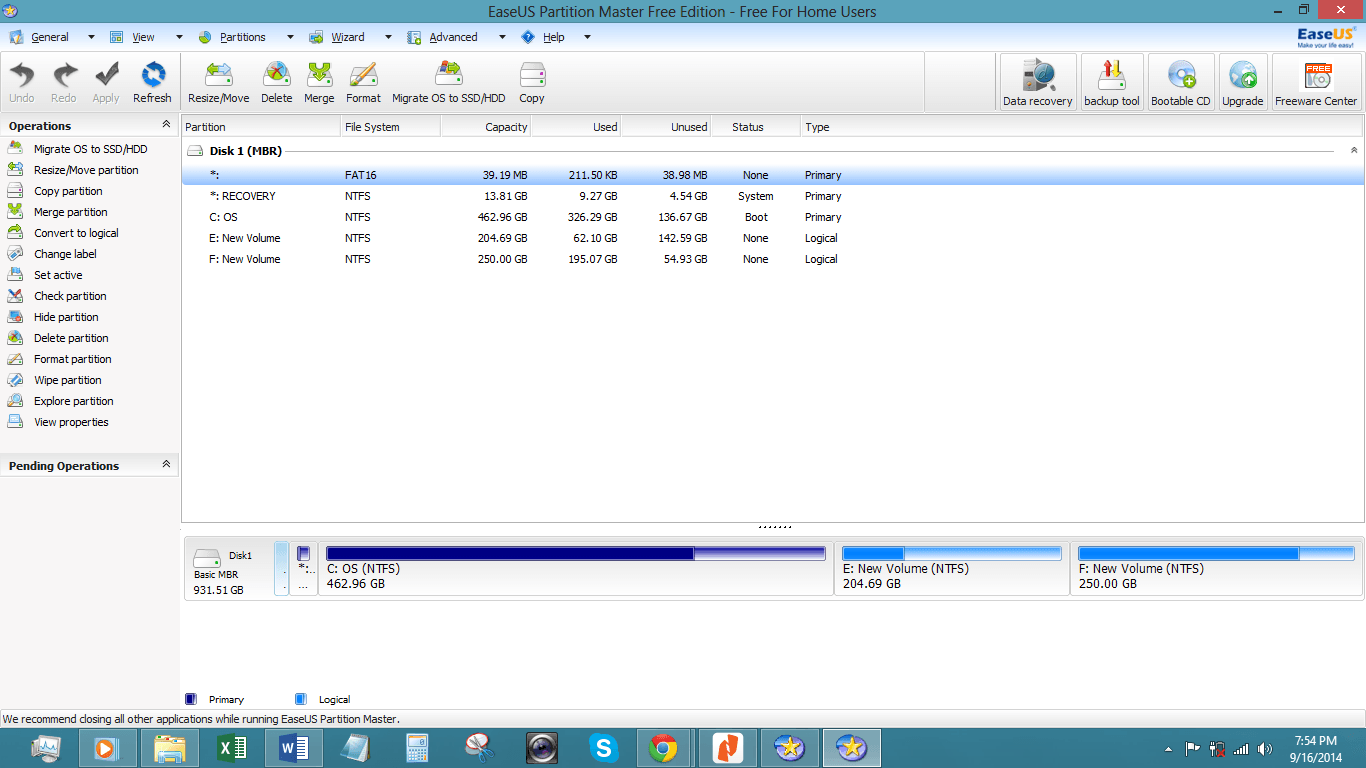
Now, we are going to explore all the functions in the left side menu, and you can later explore the menu bar which has obvious and easy to understand functions.
Migrate OS to SSD/HDD
Using this option, we can transfer Windows partitions from one hard disk to another. To perform this, select the drive in which the OS is present and click Migrate OS to SSD/HDD. Check the partition, choose a destination and edit the destination partition.
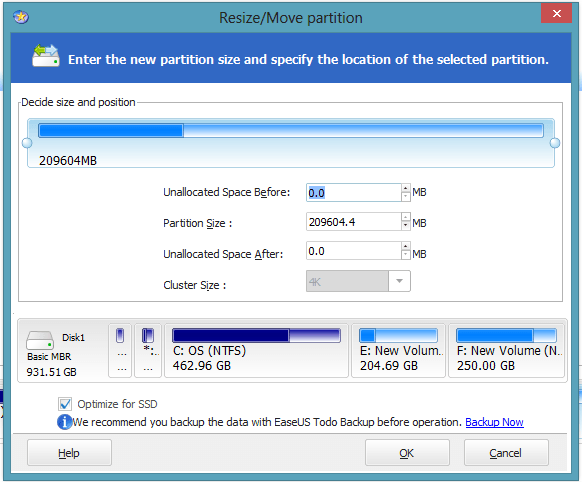
Resize/ Move partition
Decide the size and the position of the partition using the sliding bar after you choose the drive on which you want to act on.
Copy partition
You might want to copy a partition for back up purposes, provided you have space to spare. This is very easily possible as the copy partition wizard walks you through each step.
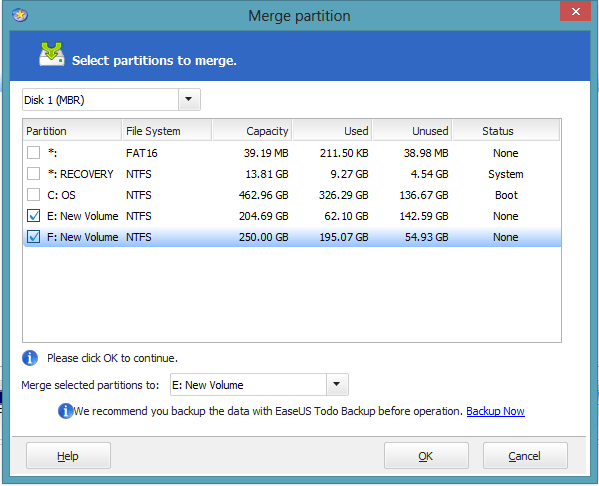
Merge partition
You can choose multiple partitions like below and choose the merge option to merge the partitions.
Convert to primary
You can always convert a particular partition to be your primary partition, but be sure you have an OS in it and it is bootable. Else, you’re in for great trouble!
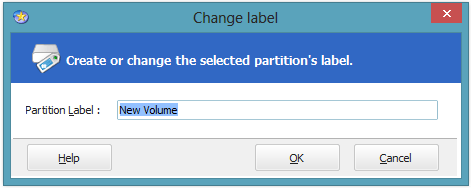
Change label
Changing the name of the drive:
Change drive letter
Changing the letter that represents the drive:

Defragment
When you’ve created a lot of files and directories, they tend to occupy random spaces spawning across all of the disk, to consolidate them into a single contiguous memory space containing everything you’ve stored so far, you can choose this option. It takes quite some time, depending on both the amount of files you’ve stored and how big the partition is.
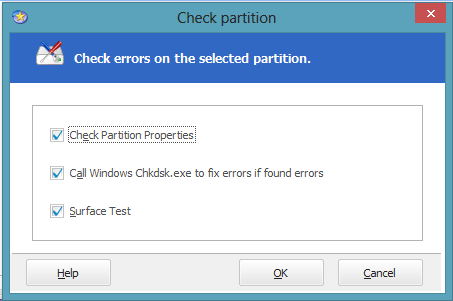
Check partition
These are few tests to perform in case you feel a partition is behaving maliciously:
Hide partition
Hiding a partition essentially means you will not be able to view it and the letter of the partition disappears into thin air. It can be useful for protecting important information from unauthorized or casual access. Now when you check your computer’s explorer, it’s not visible to anyone. You can come back and choose the ‘unhide’ option to reveal it again.
Delete partition
When you choose to delete a partition, you will essentially be deleting the boundaries that define the partition and this amount of storage is added to the unallocated disk space. The contents might or might not get disturbed in the process.
Format partition
When you decided to format a partition, you are trying to establish a file system in it. Although you may think your files are deleted, it may sometimes only not be visible but can be retrieved by advanced software. You can choose one among the many formats supported by the software and format the partition.
Wipe partition
This is where the data really gets erased from the partition. You choose this option when you do not want to delete or format a partition, but you simply want the data to be gone for good.
Explore partition
Exploring a partition is nothing more than your general file explorer. Apart from displaying all files and folders, it shows the total and free space in that partition.
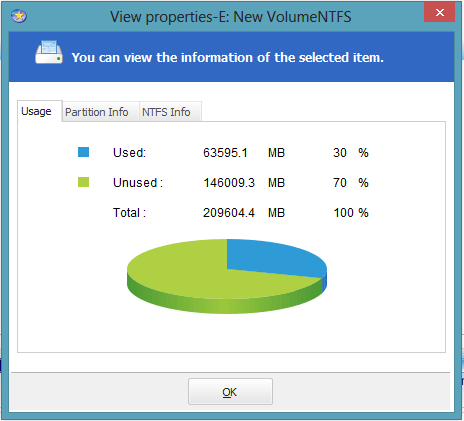
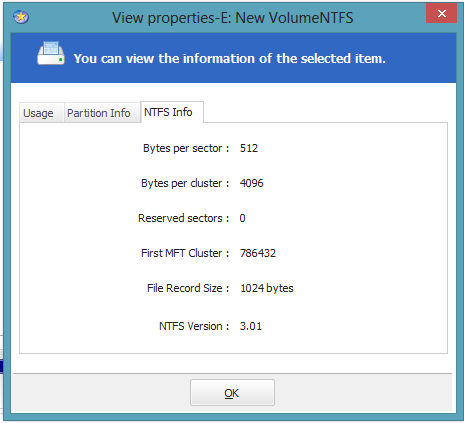
View properties
Properties such as shown below can be seen using this.

In the down left corner, below all the operations, you’ll see ‘pending operations’. When you’re performing a lot of operations, they tend to get queued here. You can pause and resume. Redo and undo and refresh using the menu bar.
Pros:
Very easy to use.
Many useful operations.
Good and pleasant user interface design.
The online manual is pretty cool! (But you won’t even have to reach out for the manual! :D)
Cons:
Resizing of secondary/pop-up windows is not possible.
Now, you’re good to go!