In this guide, you will learn to install Apache (most widely used webserver) on CentOS 8 Linux server.
How to install Apache on CentOS 8
Step 1: Update software repository
# dnf update
Step 2: Verify the repo containing Apache
# dnf module list httpd
CentOS Linux 8 - AppStream
Name                                              Stream                                                 Profiles                                                               Summary
httpd                                             2.4 [d][e]                                             common [d], devel, minimal                                             Apache HTTP Server
From the above example, you can find that httpd v2.4 is available in CentOS Linux 8 - AppStream repository and it is the default version that will get installed.
Step 3: Install Apache
# dnf install httpd -y
Step 4: Open HTTP(80) and HTTPS(443) ports in firewalld
HTTP and HTTPS protocols are generally used by web servers such as Apache or Nginx. But these ports 80 & 443 are not opened by default in the firewalld. Follow the article to Open HTTP 80 and HTTPS 443 ports in firewalld on CentOS 8 Linux.
Step 5: Start and manage Apache Web Server
Apache does not automatically start on CentOS after the installation is completed! Check for the status as below:
Verify the httpd service
# systemctl status httpd
Start the httpd service
# systemctl start httpd
Note: If the command is run properly, then there won’t be output.
Configure httpd to run on Startup
# systemctl enable httpd
Reload Apache to apply any changes in configuration files
# systemctl reload httpd
Stop httpd
# systemctl stop httpd
Step 6: Test Apache Web Server
Apache web server’s job is to serve web pages over a network. Find your system’s IP address:
# hostname -I
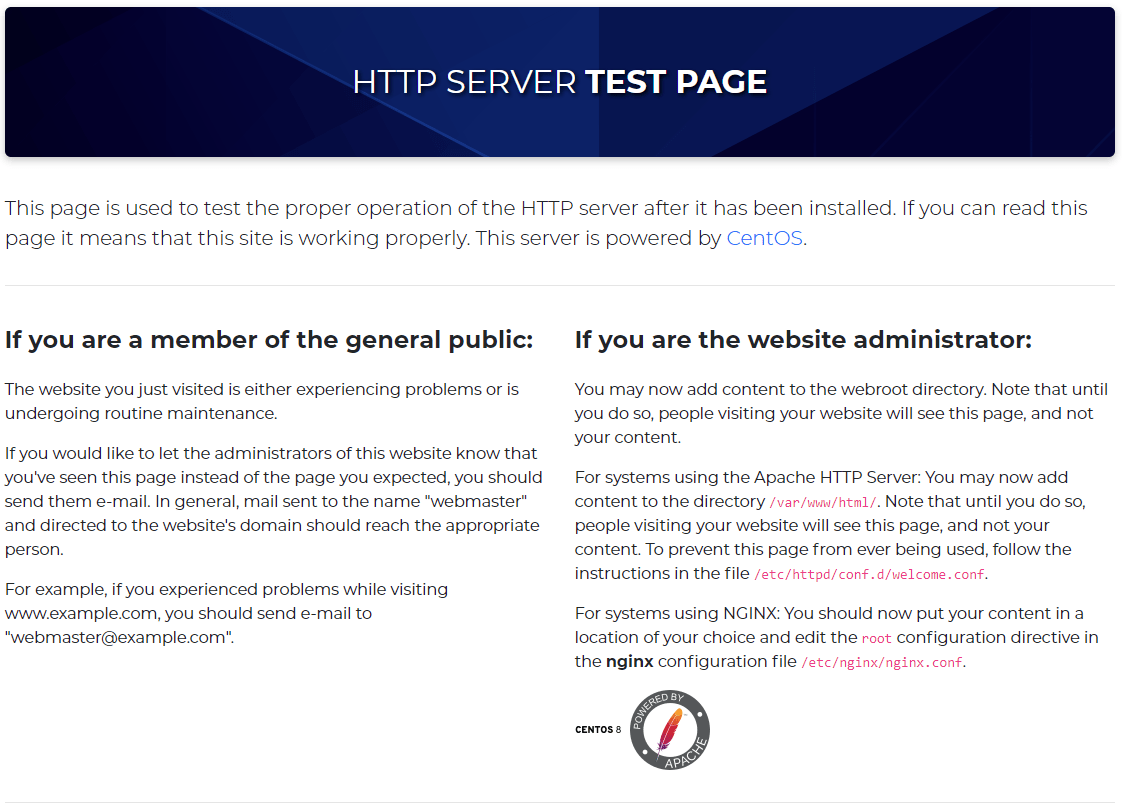
Open a web browser and type in the IP address in the URL. The browser shows HTTP SERVER TEST PAGE.


wow, it was very good. indeed it saved me alot of time.