
I was working on a project to create a logo for my company (digisparks infotech). The logo need to look like the pic shown below! It was a tough job, but learnt few things like how to draw pixelated art and apply gradient look in Photoshop. Here is the simple step-by-step tutorial of what i learnt.
![]()
Step 1: How to create pixelated art
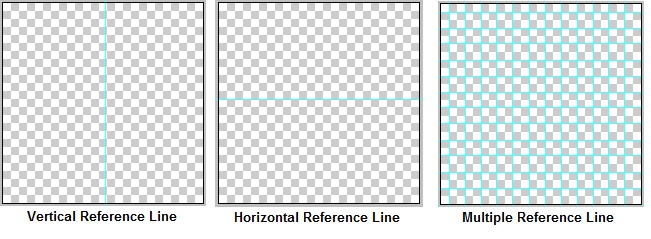
Create a new image of size 200×200 pixels. Enable ruler through the menu : View -> Rulers (Keyboard shortcut for ruler – Ctrl + R). Selete Move tool (Keyboard shortcut – Shift+V). Place your mouse on the horizontal ruler at the top and drag it to the document area where you get a horizontal reference line as shown below. Similarly for the vertical reference line. You can create n number of such reference lines.
Select pencil tool (Keyboard shortcut for pencil tool – Shift+B). From the tool bar, select the square brushes and the appropriate size. Go on creating your pixel art. In my case, i would be creating the letter “d” as shown below :
Note : You can select the appropriate grid size for your pixel art. Once done, you can remove the reference lines by just dragging them back to the ruler.
![]()
Step 2: How to create gradient effect for the pixel art
Now we shall see how to apply the gradient effect for our pixel art. Select the layer, right click and click on Blending Options. On the blending options menu, Goto Gradient Overlay. Click on the Gradient colors and select the colors as you wish and now see your pixel art with cool gradient effect as shown below :
![]()
Checkout the complete tutorial video below :
