
Earlier I had written How to Create Windows Image for OpenStack. Now that, we have created the Windows image, we can create instances, however, to access it, we need to manually provide the username and password for every bootup. This article, helps you to configure Windows VM Autologin, making the user convenient, so that he need not enter his username and password manually every time.
Configure Autologin for Windows
Autologon is a small application from Microsoft Windows the easiest and simplest solution to enable Autologin in Windows.
Step 1: Boot your Windows VM on KVM
Step 2: Download the Autologin application and unzip the folder inside Windows VM on KVM
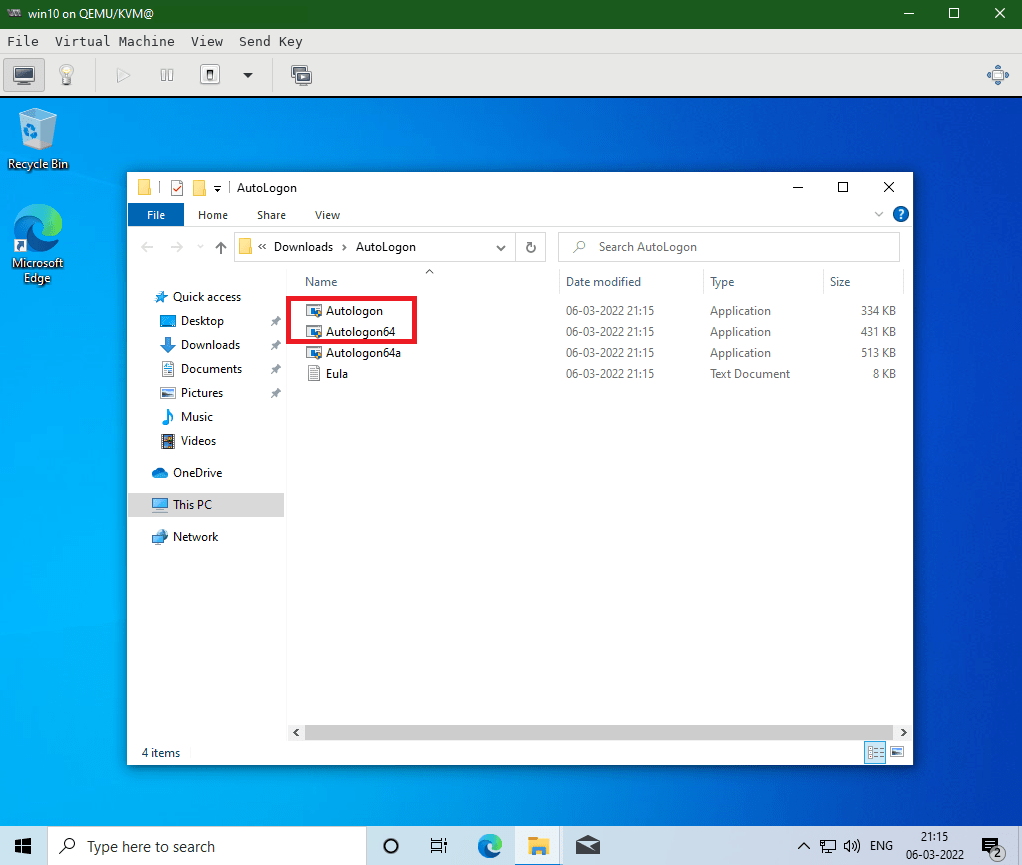
Step 3: Execute the correct Autologon version for the Instance. Plain Autologon for 32-bit Windows and Autologon64 for 64-bit Windows.
Step 4: Provide necessary permissions and select Agree to the Autologin License Agreement.
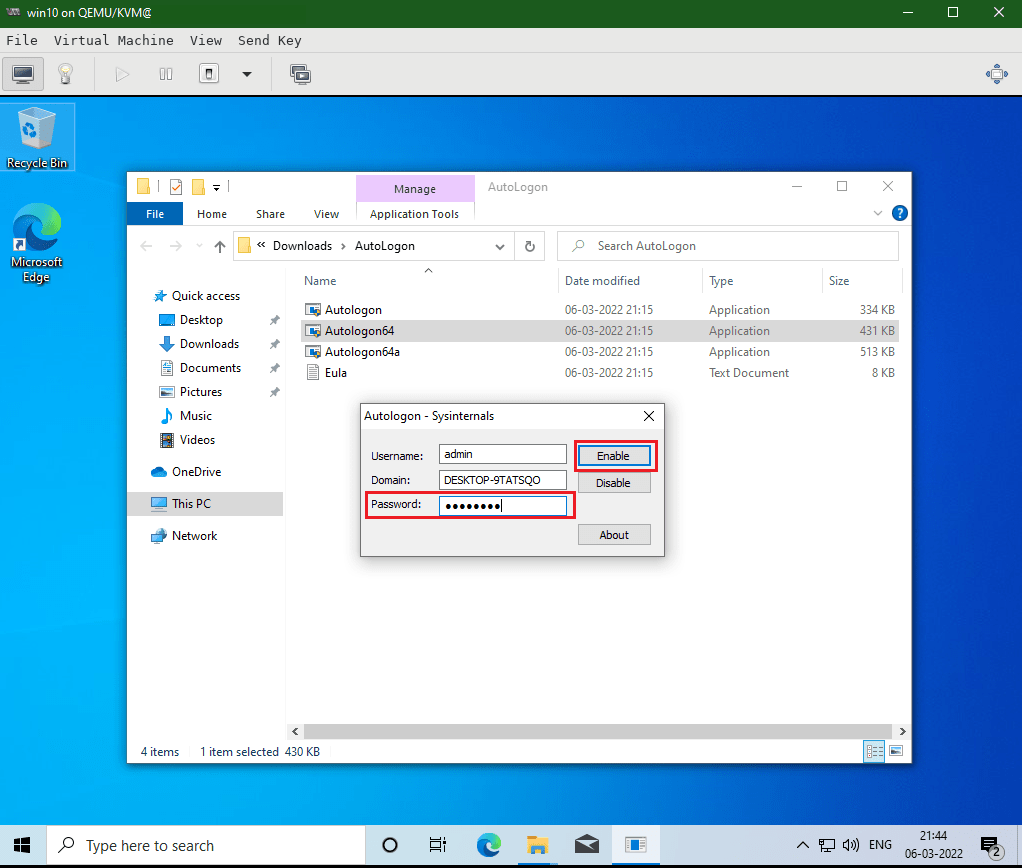
Step 5: Autologon is ready with already filled in Username and Domain details. Enter the password for the user and select Enable.
The next time the system boots, Windows will try to use the credentials to automatically login the user.
To turn off the Autologon, Run the Autologon executable and hit Disable for the user-enabled Autologin.
Now you can use the latest Windows 10 QCOW2 image from KVM for exporting onto OpenStack Cloud.
