
This tutorial is a step-by-step guide to install KVM on CentOS 8 / CentOS 7 Linux. KVM (Kernel-based Virtual Machine) is a virtualization solution, that helps to turn your server into a hypervisor and run multiple virtual machines. This tutorial also explains how to set up and manage a virtualized environment with KVM in CentOS 8 or CentOS 7.
Pre-requisites
- System running CentOS 8 / CentOS 7
- Sudo privileges or root account
- Access to the Command Line
- Virtualization Technology (VT) enabled in your server’s BIOS
Install KVM on CentOS 8
Step 1: Verify support for hardware virtualization
Make sure that your server supports hardware virtualization by running the following command:
For Intel-based systems
# lscpu | grep Virtualization
Virtualization: VT-x
For AMD-based systems
# lscpu | grep Virtualization
Virtualization:      AMD-V
Also, make sure that KVM modules are loaded in the kernel
# lsmod |grep kvm
kvm_amd               135168  0
kvm                   880640  1 kvm_amd
irqbypass              16384  1 kvm
Step 2: Update the system
# yum update
Step 3: Install all the virtualization packages
# yum install @virt
Step 4: Install tools to provision and manage Virtual Machines
# yum install virt-install virt-manager virt-viewer virt-top libguestfs-tools
Step 5: Verify Server Virtualization Setup
# virt-host-validate
  QEMU: Checking for hardware virtualization                                 : PASS
  QEMU: Checking if device /dev/kvm exists                                   : PASS
  QEMU: Checking if device /dev/kvm is accessible                            : PASS
  QEMU: Checking if device /dev/vhost-net exists                             : PASS
  QEMU: Checking if device /dev/net/tun exists                               : PASS
  QEMU: Checking for cgroup 'cpu' controller support                         : PASS
  QEMU: Checking for cgroup 'cpuacct' controller support                     : PASS
  QEMU: Checking for cgroup 'cpuset' controller support                      : PASS
  QEMU: Checking for cgroup 'memory' controller support                      : PASS
  QEMU: Checking for cgroup 'devices' controller support                     : PASS
  QEMU: Checking for cgroup 'blkio' controller support                       : PASS
  QEMU: Checking for device assignment IOMMU support                         : WARN (No ACPI IVRS table found, IOMMU either disabled in BIOS or not supported by this hardware platform)
  QEMU: Checking for secure guest support                                    : WARN (Unknown if this platform has Secure Guest support)
Step 6: Start libvirtd daemon and enable on boot
# systemctl start libvirtd
# systemctl enable --now libvirtd
Verify default bridged networking
Step 7: Verify the default network bridge configured
By default, libvirtd creates virbr0 as the bridged network.
# virsh net-info default
Name:           default
UUID:           81a01b0f-0275-4590-9e5b-e70e06668734
Active:         yes
Persistent:     yes
Autostart:      yes
Bridge:         virbr0

# nmcli device
DEVICE      TYPE      STATE                   CONNECTION
enp4s0f0    ethernet  connected               enp4s0f0
virbr0      bridge    connected (externally)  virbr0
enp4s0f1    ethernet  disconnected            --
enp4s0f2    ethernet  disconnected            --
enp4s0f3    ethernet  disconnected            --
lo          loopback  unmanaged               --
virbr0-nic  tun       unmanaged

# nmcli connection show
NAME      UUID                                  TYPE      DEVICE
enp4s0f0  410ec4d8-46b4-4799-8a20-500932714366  ethernet  enp4s0f0
virbr0    d7ac2f70-b543-4e18-80b1-d89bd7606e11  bridge    virbr0
enp4s0f1  3a50fb83-0d98-43c3-848b-8fdcad24f495  ethernet  --
enp4s0f2  f2ba191a-b209-4a63-b2db-3607284344cb  ethernet  --
enp4s0f3  4c464e5f-2636-42f1-95bd-0b89b5858084  ethernet  --
For allocating IPs to VMs, libvirtd uses a lightweight DHCP and caching DNS server named DNSMAQ. You can see the config file with IP ranges.
# cat /var/lib/libvirt/dnsmasq/default.conf
##WARNING:  THIS IS AN AUTO-GENERATED FILE. CHANGES TO IT ARE LIKELY TO BE
##OVERWRITTEN AND LOST.  Changes to this configuration should be made using:
##    virsh net-edit default
## or other application using the libvirt API.
##
## dnsmasq conf file created by libvirt
strict-order
pid-file=/run/libvirt/network/default.pid
except-interface=lo
bind-dynamic
interface=virbr0
dhcp-range=192.168.122.2,192.168.122.254,255.255.255.0
dhcp-no-override
dhcp-authoritative
dhcp-lease-max=253
dhcp-hostsfile=/var/lib/libvirt/dnsmasq/default.hostsfile
addn-hosts=/var/lib/libvirt/dnsmasq/default.addnhosts
# egrep '^(dhcp-range|interface)' /var/lib/libvirt/dnsmasq/default.conf
interface=virbr0
dhcp-range=192.168.122.2,192.168.122.254,255.255.255.0
Configure bridged Networking
Step 8: Create a bridged interface
If you want your VMs reachable by other machines from your LAN, set up a network bridge on the server that is connected to your LAN. Otherwise, you can continue with further steps.
Create Virtual Machine on KVM
Step 9: Download bootable CentOS ISO file.
# wget http://centos.mirror.snu.edu.in/centos/7.9.2009/isos/x86_64/CentOS-7-x86_64-Minimal-2009.iso
# mv CentOS-7-x86_64-Minimal-2009.iso /var/lib/libvirt/boot/
Step 10: Create a virtual machine
Using command-line tool virt-install
# virt-install --name=CentOS7 --file=/var/lib/libvirt/images/centos7.qcow2 --file-size=15 --nonsparse --graphics=spice --ram=2048 --vcpus=2 --cdrom=/var/lib/libvirt/boot/CentOS-7-x86_64-Minimal-2009.iso --network bridge=virbr0 --os-type=linux --os-variant=generic

Starting install...
Allocating 'centos7.qcow2'                                                 |  15 GB  00:00:00
Once the above command starts, virt-viewer shall open on your display as below:
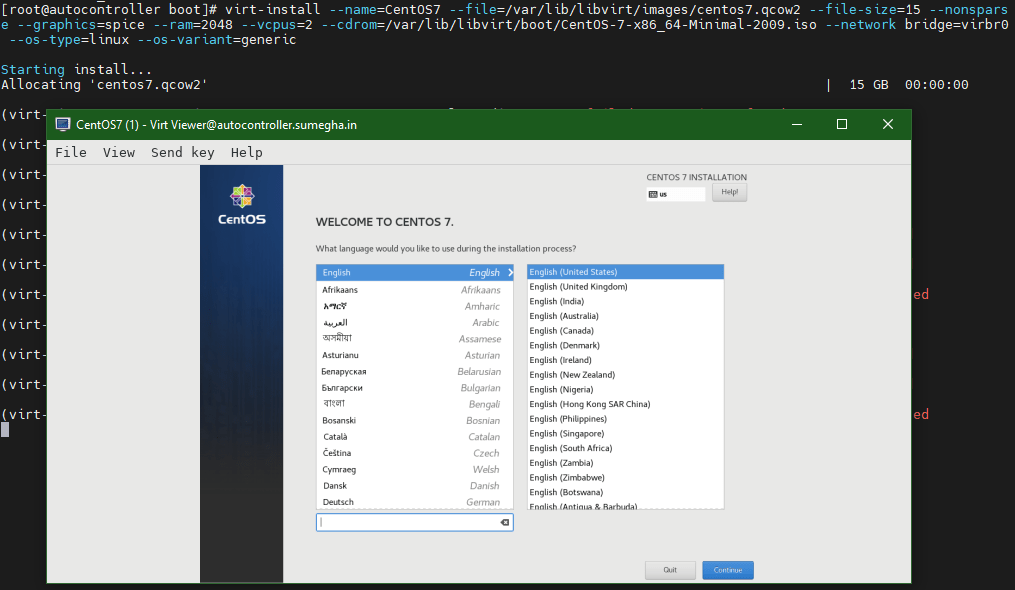
Complete the installation!
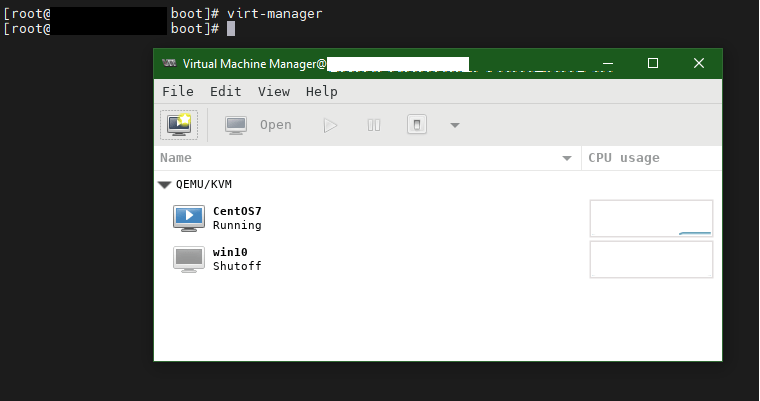
Using virt-manager GUI
Connect to your server using MobaXterm client and execute virt-manager command.
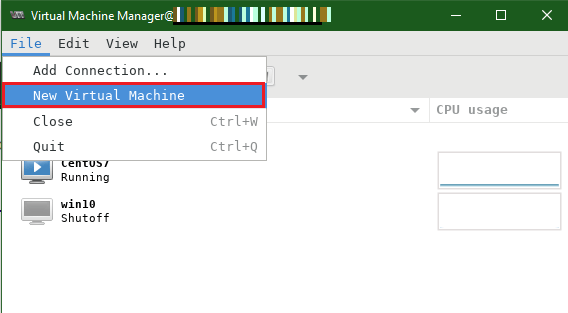
Open the file menu and select New Virtual Machine
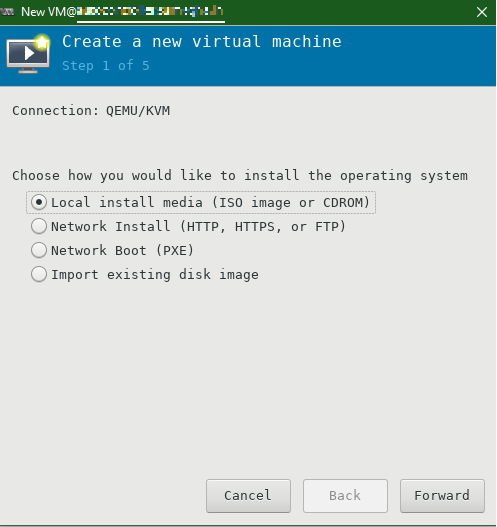
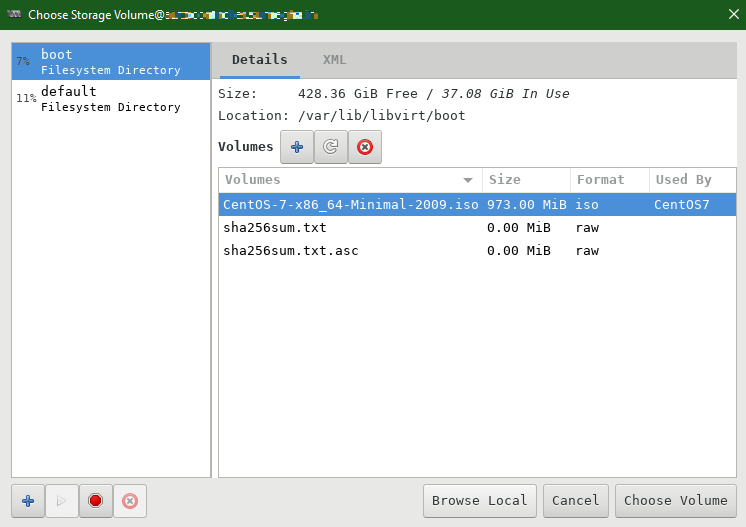
Choose your Installation media.
Specify the PATH of the ISO file downloaded from Step 9.
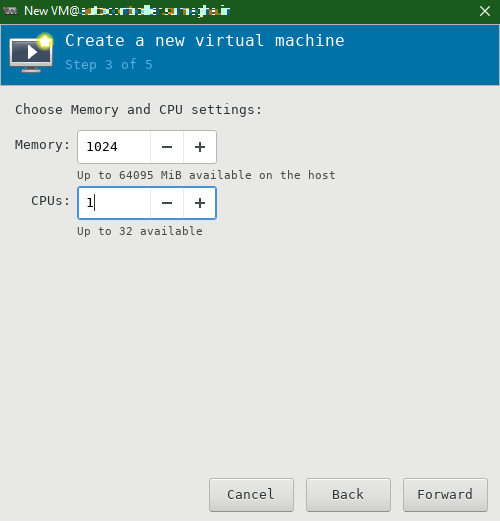
Allocate RAM and CPU
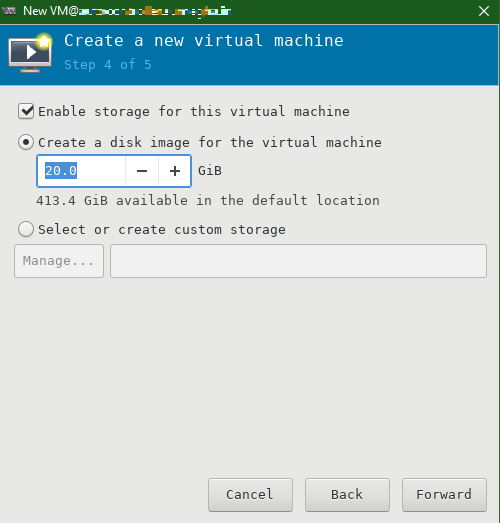
Specify the size of the Virtual Hard Disk
Choose a name for the VM and select the network type as Virtual Network: NAT
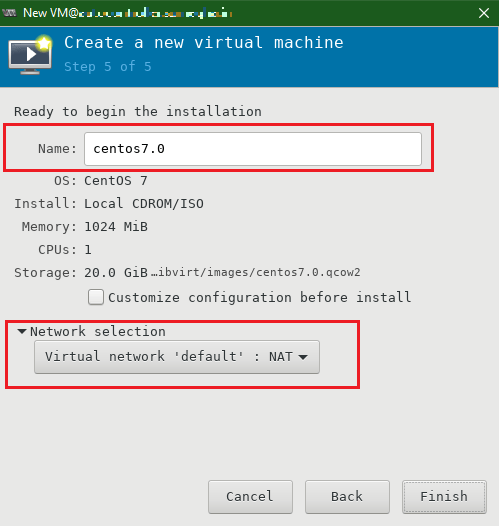
Finish and begin the OS installation!
