
WSO2 API Manager is an Open Source-based API Gateway that allows the development teams to deploy and monitor APIs and as well provides a facility for the consumers to subscribe to APIs and consume to meet their needs. Why would someone need an API Manager? Well, that’s a good question. Imagine an organization exposing its core processes, data, and services as APIs to the public, and the external agencies or parties can consume these APIs to build their applications. This way the business can improve its growth potentials through its APIs. But what if the businesses have too many APIs exposed to the public? How will they manage those, the security, performance, logging, monitoring, analytics, policies, etc…API Gateways are meant to do that and WSO2 API-M is one of the popular products in that domain. The API Manager facilitates complete API governance; API creation, publishing, life cycle management, versioning, security, load balancing and failover management, monetization, and analytics. Well, in this tutorial we will be Installing WSO2 API Manager 4.0.0 and on CentOS 7.9.
Pre-requisites:
- Minimum of 4GB RAM and 10 GB disk space. If you are installing on a VM, then a minimum of 2 VCPUs.
- OpenJDK. You may need to check the version compatibility before installing it. For WSO2 version 4.0.0, you need OpenJDK version 8, 11.
- Apache Ant 1.7.0 or later
Installing WSO2 API Manager on CentOS
Installing the pre-requisites:
Installing OpenJDK 11 on CentOS
Step 1: Get your machine ready with the latest package repository
# yum update
Step 2: Install OpenJDK via yum
# yum install java-11-openjdk-devel
Step 3: Install OpenJRE 11
# yum install java-11-openjdk
Step 4: Verify Java is installed successfully
# java --version
openjdk 11.0.12 2021-07-20 LTS
OpenJDK Runtime Environment 18.9 (build 11.0.12+7-LTS)
OpenJDK 64-Bit Server VM 18.9 (build 11.0.12+7-LTS, mixed mode, sharing)
Step 5: Set JAVA_HOME environment variable
# update-alternatives --config java

There are 2 programs which provide 'java'.

Selection Command
-----------------------------------------------
* 1 java-1.8.0-openjdk.x86_64 (/usr/lib/jvm/java-1.8.0-openjdk-1.8.0.302.b08-0.el7_9.x86_64/jre/bin/java)
+ 2 java-11-openjdk.x86_64 (/usr/lib/jvm/java-11-openjdk-11.0.12.0.7-0.el7_9.x86_64/bin/java)

Enter to keep the current selection[+], or type selection number: 2
Copy the path of Java from the above output and set the JAVA_HOME variable in /etc/bashrc or /etc/bash_profile
export JAVA_HOME=/usr/lib/jvm/java-11-openjdk-11.0.12.0.7-0.el7_9.x86_64
export PATH=$JAVA_HOME/bin:$PATH
Step 6: Install Apache ANT
# wget https://github.com/wso2/product-apim/releases/download/v4.0.0/wso2am-4.0.0.zip
# unzip wso2am-4.0.0.zip
# mv apache-ant-1.10.11 /opt/
Step 7: Set ANT_HOME in bashrc or bash_profile
export ANT_HOME=/opt/apache-ant-1.10.11
export PATH=$JAVA_HOME/bin:$ANT_HOME/bin:$PATH
Check Apache ANT version
# ant -version
Apache Ant(TM) version 1.10.11 compiled on July 10 2021
Step 8: Create a new user to run the WSO2 API Manager
# adduser apigw
Step 9: Switch to 'apigw' user and Download API Manager
Visit this link and download the API Manager 4.0.
$ unzip wso2am-4.0.0.zip
Step 10: Set hostname or domain name to use in /etc/hosts
127.0.0.1 localhost localhost.localdomain wso2.tg.com
<local_ip_address> wso2.tg.com
Note: Remember to replace the <local_ip_address> with an actual IP address.
Step 11: Configure deployment.toml file
Verify the configurations in wso2am-4.0.0/repository/conf/deployment.toml. If you are setting up WSO2 for the very first time, then you may not be required to change much in this file except the below.
[server]
hostname = "<domain_name/hostname>"
e.g.,
[server]
hostname = "wso2.tg.com"
Step 12: Start the API-Manager
Remember to start the API manager as a local user (apigw) and not as ‘root’.
$ ./bin/api-manager.sh
The above command will start the API manager as a foreground process allowing to see the messages and errors printed to stdout. By starting in the foreground, you get to see errors and fix those if required.
But ideally, the API manager should be run as a daemon using the start, stop options as shown below:
$ ./bin/api-manager.sh -start
$ ./bin/api-manager.sh -stop
$ ./bin/api-manager.sh - restart
Look out for the logs files under wso2am-4.0.0/repository/logs folder.
- wso2carbon.log
- wso2-apigw-errors.log
- wso2-apigw-service.log
- audit.log
- http_access_.2021-09-08.log
In case if the API manager fails to start, then wso2carbon.log and wso2-apigw-errors.log will provide more insight.
Check if API Manager is working properly.
Try accessing the following URLs,
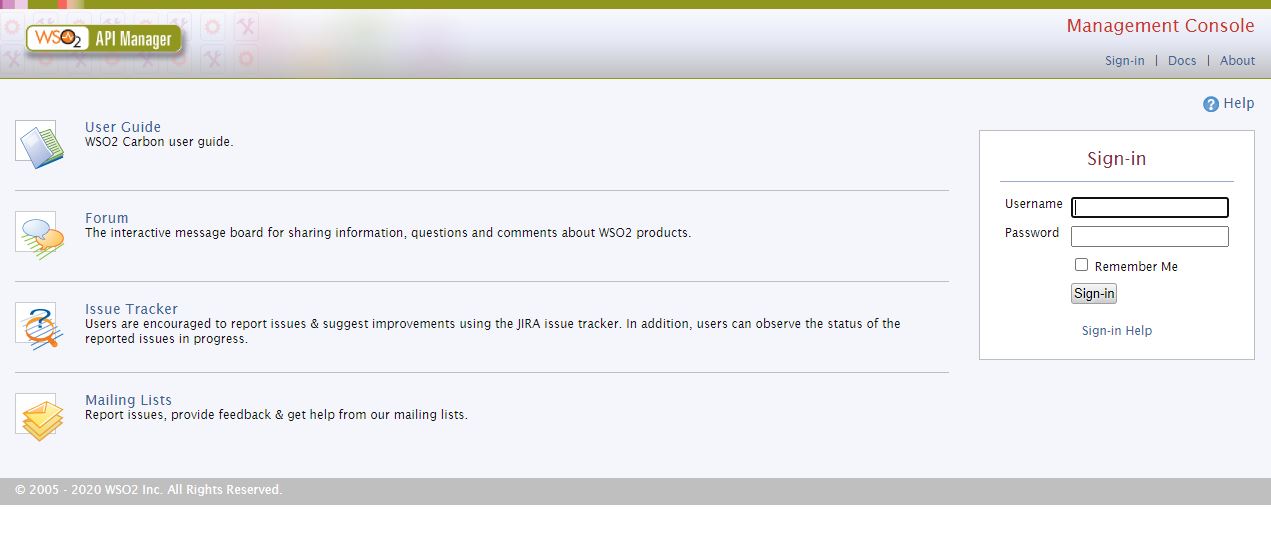
- Carbon – https://<hostname>:9443/carbon
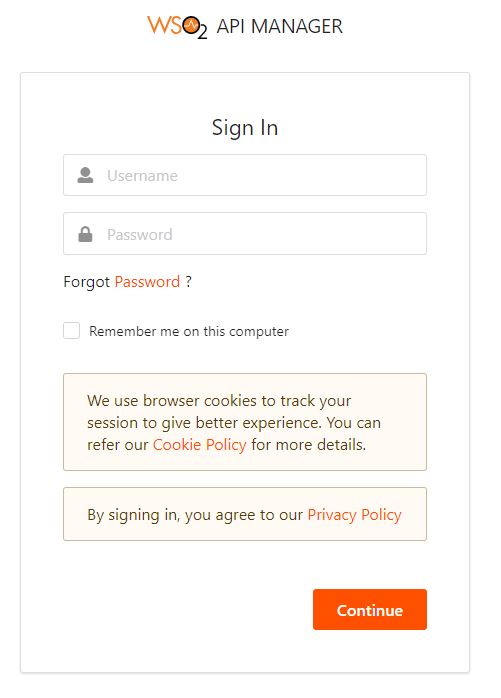
- Publisher URL – https://<hostname>:9443/publisher
- Developer Portal – https://<hostname>:9443/devportal
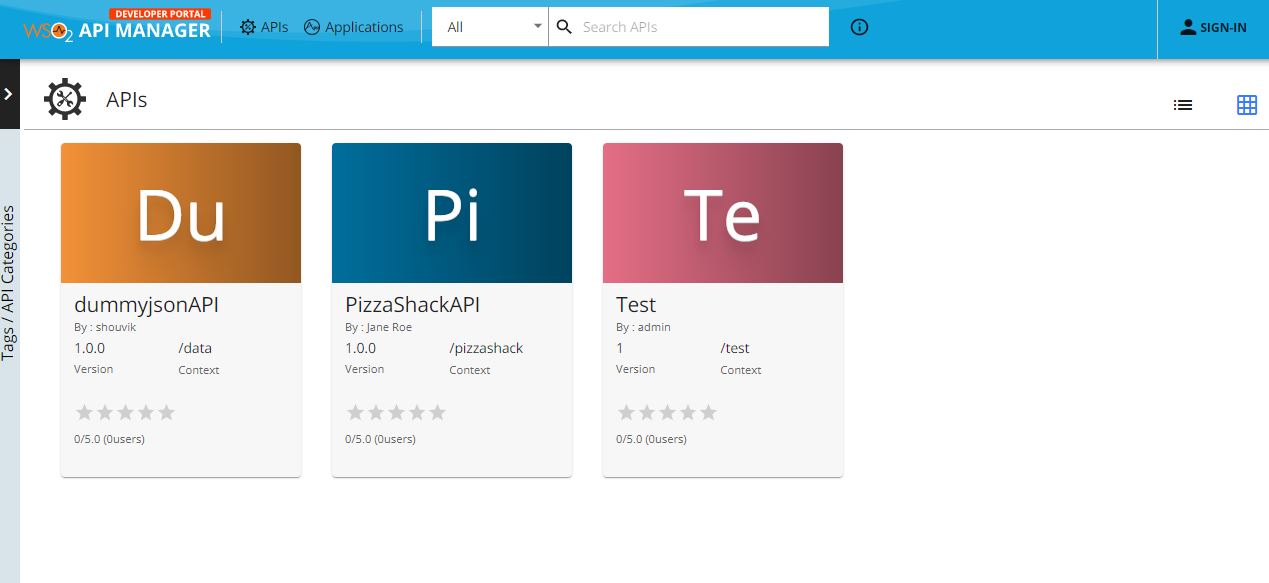
If everything goes well, you should be able to see the interface. The default username is ‘admin’ and the password is ‘admin’.
Note: The default database used in WSO2 is H2. However, WSO2 should be integrated with MySQL database for the production environments. We will discuss this in a separate article.

It is good guidle, thank you so much