After successfully creating Windows Image for OpenStack, uploaded the Windows 10 QCOW2 image on my OpenStack setup and created an Instance to load Windows 10 image. However, after waiting for a long time (nearly hours) still, the windows loading screen didn’t complete and suspected about the image. Cameback to KVM virt-manager and booted Windows VM and to my surprise, I encountered the error: Windows could not parse or process the unattend answer file for pass [specialize]. Then realized the long waiting time on OpenStack. Below is the snapshot of the complete error message:
How to solve Windows could not parse or process the unattend answer file
Solution: The error indicates a problem with the information in the unattend.xml file, and tells you to check the specialize pass, in the Microsoft-Windows-shell-Setup container. If you know how to correct the answer files, simply recheck the unattend.xml file and fix it appropriately that is causing the issue. But, if you’re an end-user with not enough knowledge about modifying the answer file here is how to rectify it.
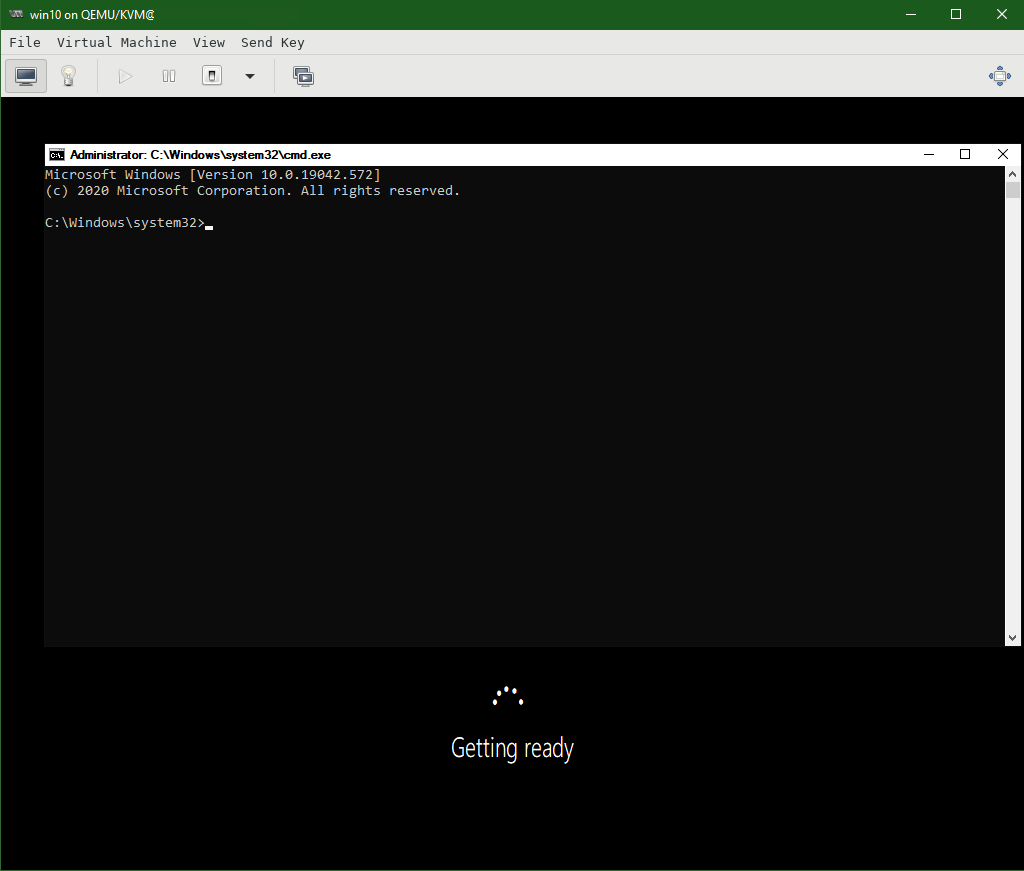
Step 1: When this error appears, simple press Shift + F10 to open the command prompt.
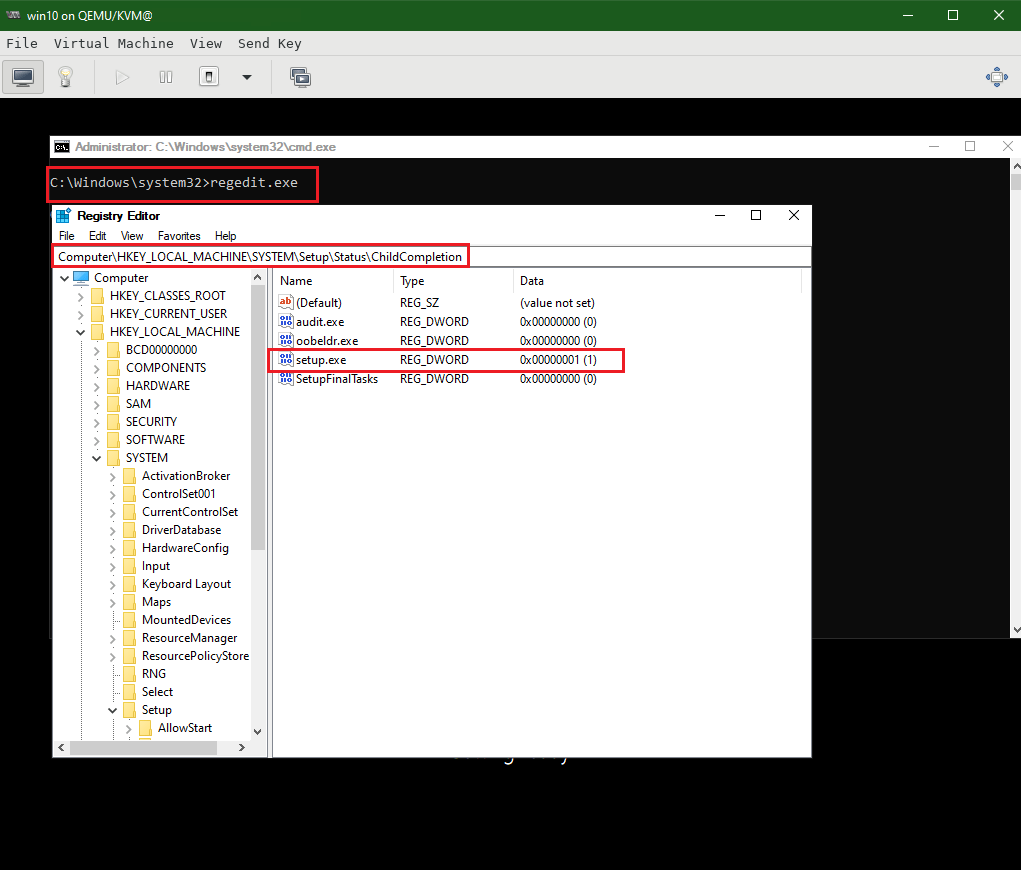
Step 2: Type regedit.exe in the command prompt to open Registry Editor. Navigate to HKEY_LOCAL_MACHINE\SYSTEM\Setup\Status\ChildCompletion
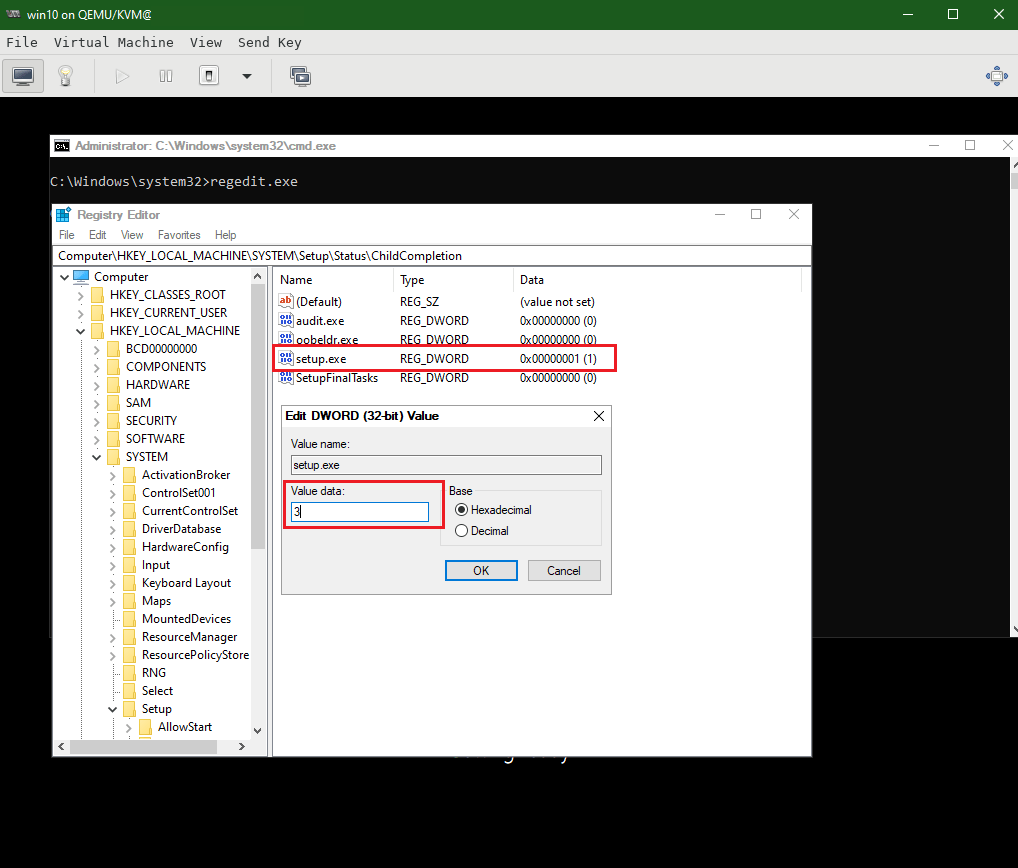
Step 3: Double click on Setup.exe from the right pane and change the Value data to 3. Click OK. Close Registry Editor, exit the command prompt and click Ok on the error screen to reboot the Windows OS.
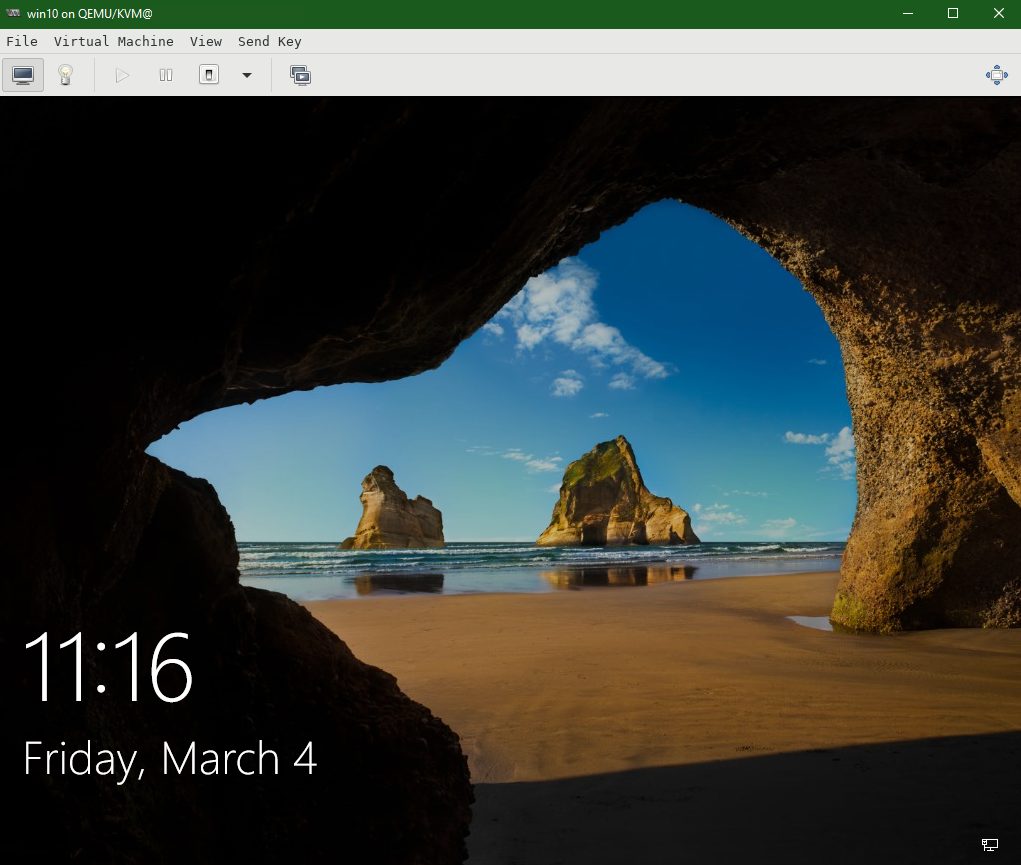
After the restart, Windows will skip checking for unattend answer file and boot without any error.

![Windows could not parse or process the unattend answer file for pass [specialize] Windows could not parse or process the unattend answer file for pass [specialize]](https://techglimpse.com/wp-content/uploads/2022/03/Pasted-into-How-to-fix-Windows-could-not-parse-or-process-the-unattend-answer-file.png)


Fabulous! That fixed it. Thank you so much.
solved. thanku
Mouse and key board not working so how can press shift and f10 it not possible
After you booted back into the VM and fixed the error did you then re-create and re-upload the Openstack Image?
Thank You,
Sam
Yes
big thanks