Anyone blogging with WordPress must have written a post where one has to upload a number of pictures(like me writing the Auto Expo 2014 ). Have you ever wondered how to upload all of your photos to WordPress a little faster? and found no way and had to do upload all images one-by-one? You don’t have to do that anymore as we are here to help. WordPress has a default gallery option, and now, learn how to insert a gallery in WordPress!
But ofcourse, you should spend time to give each image title/alt/caption.
- Log in to your WordPress site
- Click on dashboard and start to edit the post
- Click on Add media
- Click on Create Gallery
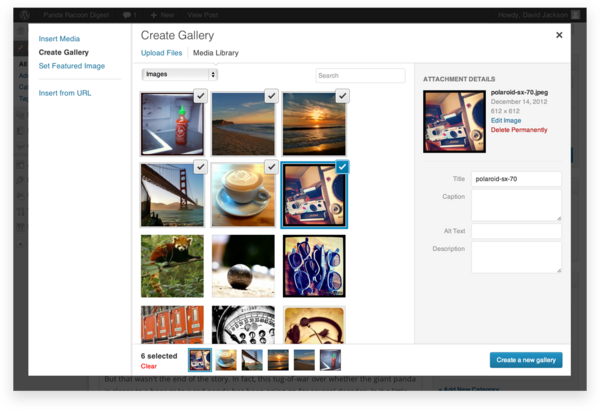
- Select all the pictures that you want.
- Click on Upload
- Wait for the upload
- Then here comes the tricky part
- After the uploads are finished, go to the Add Media menu
- Click on one image
- In the bottom right corner, instead of a “Upload file”, you’ll see a Insert Gallery file.
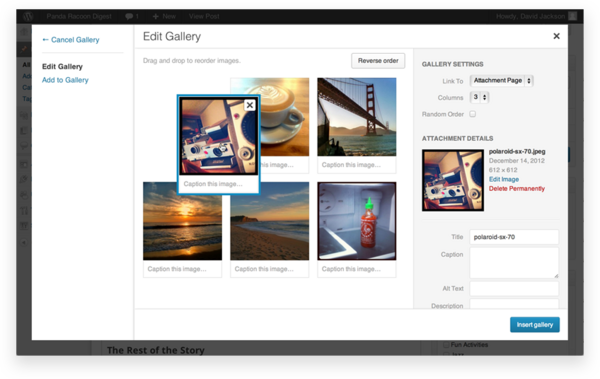
- Select all the files and click on insert gallery.
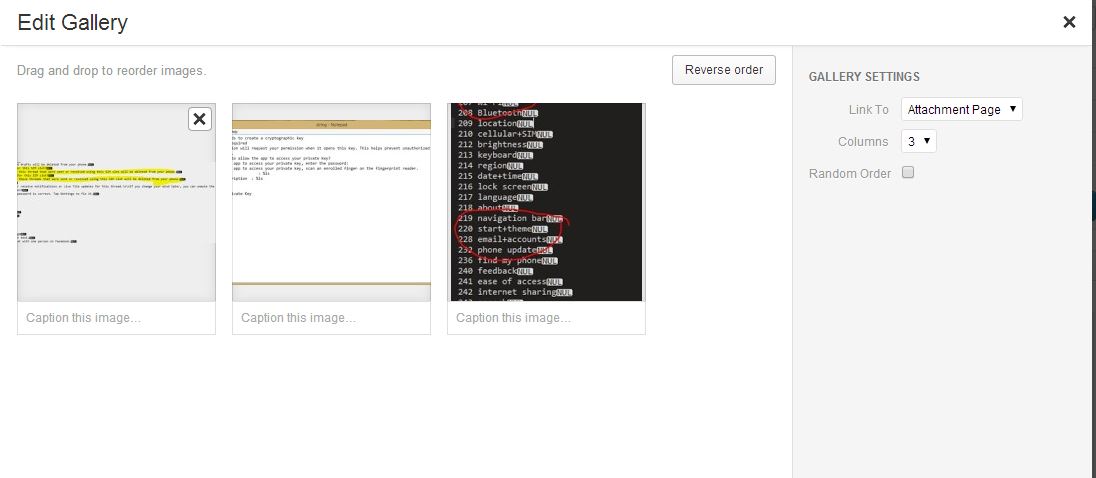
- You’ll have an option of editing the gallery i.e. rearranging the images.
- Once you have rearranged the images and you are ready to go, click on upload.
- You will also have options to set the number of columns in which the pictures should be displayed, order of display and linking.
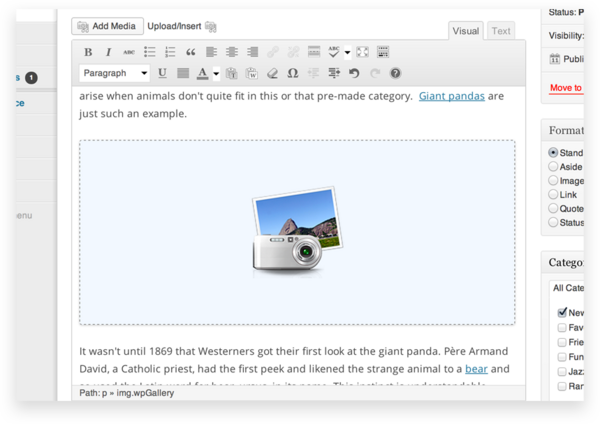
- If you still have some editing to do, no worries. As the gallery can be edited by clicking on the camera icon as it appears in the visual screen.
Follow the tips above and save more time. Cheers!

