We have just finished covering Introduction to service workers, Installation and Activation of service workers. The next thing in the service worker life cycle is Fetch event. A fetch event occurs when a request is sent to the server. Normally, when an app requests resources like a stylesheet, images or another page, the server directly sends the required response. But if a service worker is present, it acts as a proxy between the browser and the server by listening and responding to the fetch requests. So, using the service workers, we can either modify or stop the request and return a custom response to the app. This is mainly done in order to handle cached assets and enable offline mode, wherein some of the resources are fetched from the cached data instead of the server.
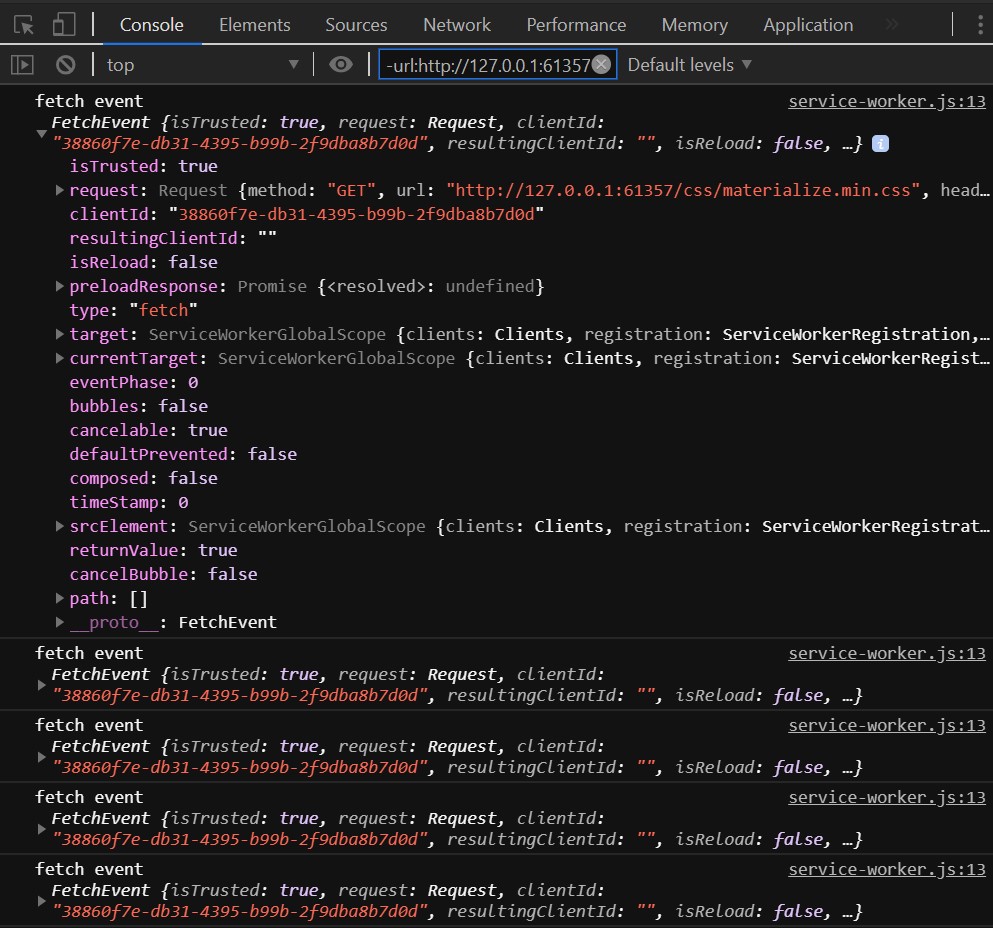
By adding an event listener to the service worker file, we can inspect all the fetch requests being made by the app.
self.addEventListener('fetch', evt=> {
     console.log(‘fetch event’,evt);
});
The fetch events along with all the associated details like the type of request, url and the path are displayed in the console.
Caching Assets
Every website has certain repeatedly accessed objects like the main page of the website, certain images, style sheets and javascript libraries etc., Fetching these resources from the browser every single time can wear down the browser and your computer memory. This is what makes web users suffer from network congestion and server overloading. So it always wise to store these objects locally on your browser cache and access them.
Advantages of Caching
- Data retrieval time from cache is much faster than main memory, this reduces latency.
- Network load can be reduced because pages that are served from the cache have to traverse less of the network than when they are served by the server.
- Reduces the number of requests sent to the server.
- Reduces bandwidth consumption and network traffic.
- In case the server is unavailable due to a crash, the users can still obtain content from the cached data.
What to Cache?
We can’t possibly cache all the resources of our website because there’s always a limit to the cache memory and doing so is unreasonable. So we should cleverly decide what to cache and what not to. The cache should mainly contain the core resources that make up the user interface of the website, like the logo or the HTML of the index page or the stylesheets. By doing so, the user will at least get the default app content even if he loses internet connection.
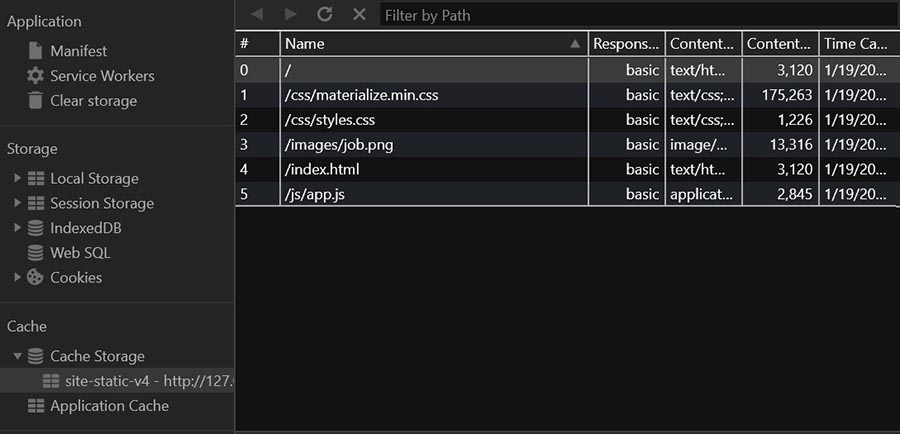
Once we decide what to cache, we’ll use the service worker to cache them. Caching is done within the install event as it occurs every time a service worker is registered or updated. The list of request URLs of the assets to be cached should be stored in an array. Within the install event, we first create and open a static cache using cache.open() method and then add all the resources into it by using cache.addAll() method on the declared array. These two methods are asynchronous tasks and may take any amount of time whereas the installation process takes less than a second. So we need to use the evt.waitUntil() method to wait until the caching process is complete before moving on to the next task.
const staticCacheName = 'site-static';
const assets=[
      '/' ,
      '/index.html' , //the main HTML page
      '/css/styles.css' , //stylesheet that sets up design of the app shell
      '/js/app.js' , //javascript that drives the UI and navigation logic
      '/css/materialize.min.css' , //stylesheet of the entire website
      '/img/job.png' //image logo
];
self.addEventListener('install', evt=> {
    evt.waitUntil(
          cache.open(staticCacheName).then((cache)=> {
               console.log(‘caching shell assets);
               cache.addAll(assets)
         });
    );
});
Now check browser’s cache storage to find all the assets stored in there.


