Everyone uses Apple ID to store their contacts, calendars, personal data and credit information to enable them access iTunes and App store easily. But what if someone gains access to your Apple ID? The hacker will be able to grab your personal information and credit card details. To ensure your Apple ID is secure, the company has rolled out a new feature called “Two Step Verification”. Two step verification adds one more level of protection to your Apple ID, which requires users to prove their identity using one of their devices in order to make any changes to their account or to make any purchase on iTunes, iBooks or App store from a new device.
Currently, the two-step verification is only available in US, UK, Australia, Ireland and New Zealand, but the feature will be rolled out to users from other countries as well.
Well, if you wish to enable Two-Step verification, then here’s how it is:
Step 1: Head on to this link and start managing your Apple ID by clicking “Manage your Apple ID”
Step 2: Authenticate yourself using your Apple ID and password. If you had enabled Login security question, then make sure you feed in that as well.
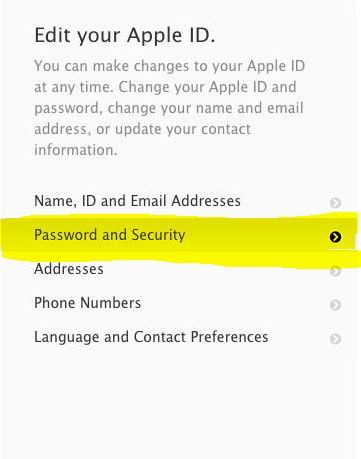
Step 3: Upon successful login, you can find a menu on the left side of the page, where you can manage your ID. Click “Password and Security” option.
Step 4: On the right side, you will find an option for two-step verification with link to get started. Just click on it.
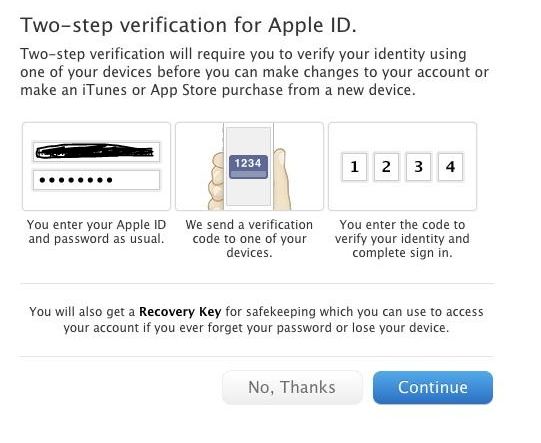
Step 5: The get start guide will provide information about what two-step verification is all about and how does that work. Click “Continue” to proceed. The step will take you through various prompts explaining what two-step security does and what it doesn’t do. Read them carefully while you go through the prompts.
Step 6: Once you reach the first step, you can find list of devices that currently have access to your iCloud account. Click Verify option next to the device that you wish to verify.
Step 7: Now Apple will send a verification code to your device. So move on to your device and note down the verification code.
Step 8: Enter this verification code in your computer to confirm and verify the device. If you wish to add another device, then follow the same steps.
Step 9: The next step will give you a “Recovery Key“. Write down the recovery key, as you need to enter this in next step. Please don’t store the key on your computer. The recovery key is needed, if you ever forget your password or lost your verified device.
Step 10: Confirm the “Recovery Key” by entering the number you got in step 9.
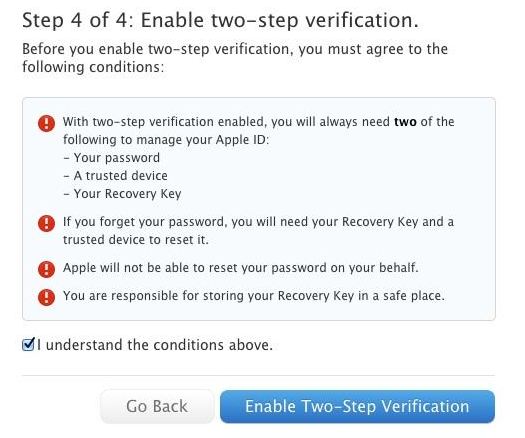
Step 11: Now agree to the terms and conditions by click “I understand the conditions above” and click “Enable Two-Step Verification“.
Step 12: If everything went well, you will see a confirmation screen.
That’s it! You can make sure that “Two-Step verification” is enabled by going back to “Privacy and Security” page.


