A Virtual Private Network(VPN), allows you to create a secure connection to another network over the Internet to connect to remote datacenters, to access region-restricted websites wherein you are not in same LAN or hide your browsing activity from public Wi-Fi, and many more.
Now that you want to connect to a VPN, follow the simple steps below –
Step 1 :
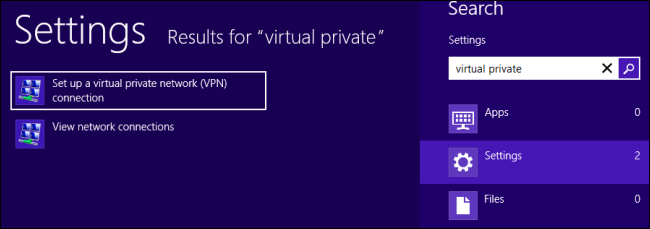
* Type VPN in run command and head straight away to the create new VPN dialog.
(OR) For detailed process
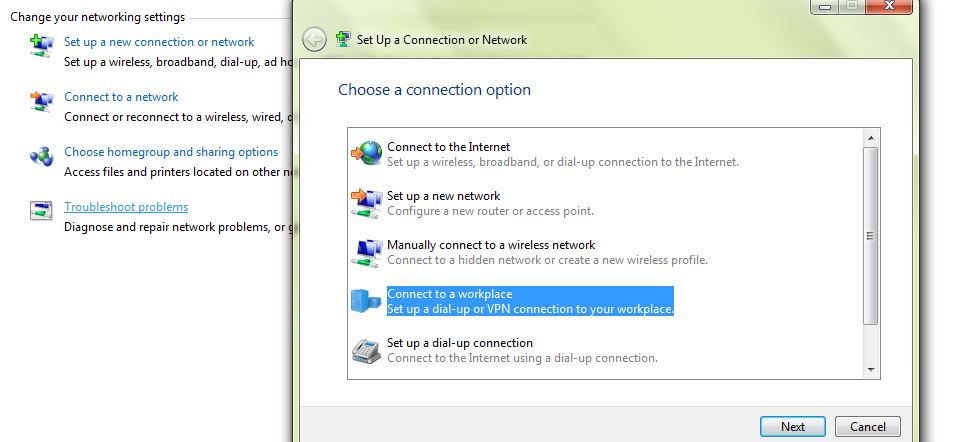
* Go to control panel and navigate to the Network and sharing center.
* Select “Connect to a workplace option”
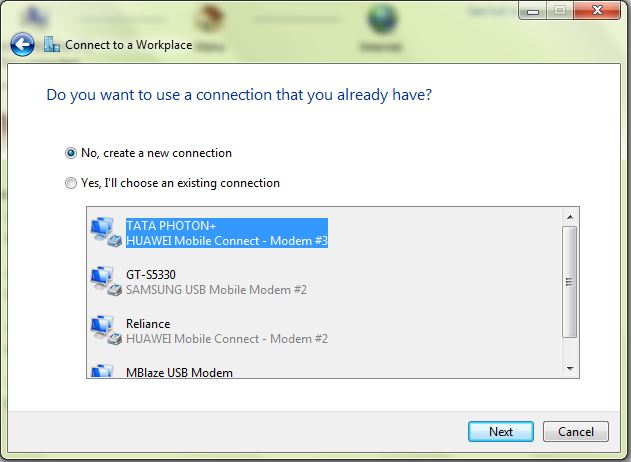
* Select “No, Create a new connection”
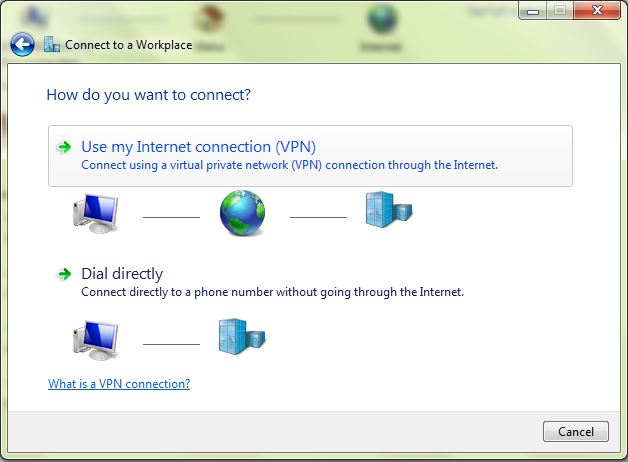
* Now Select “Use My Intenet(VPN)”
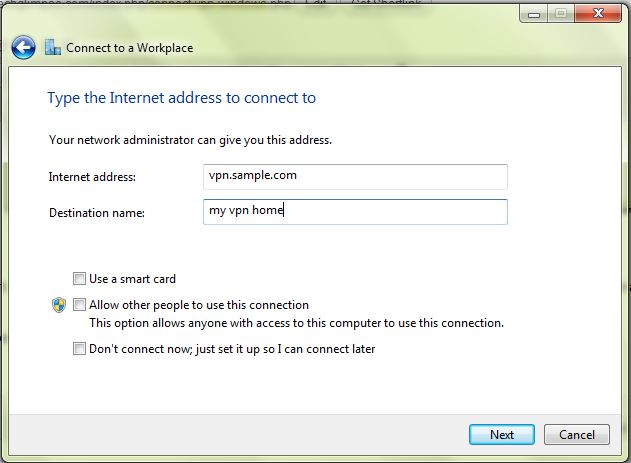
* In the next dialog give your VPN Credentials.
Step 2 :
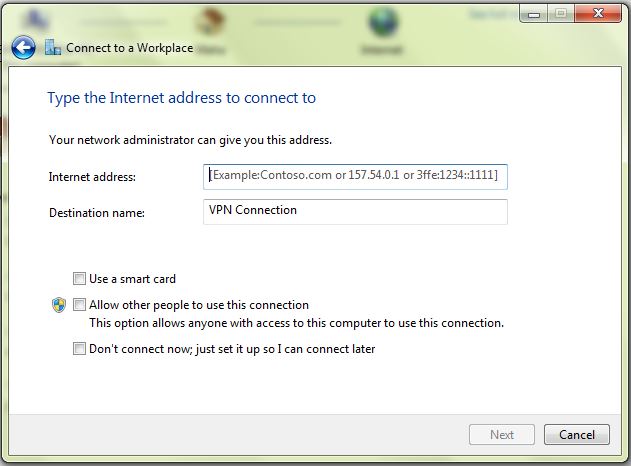
* In the Internet Address box. Enter the address your VPN provider has given you (It may be like vpn.sample.com or a numerical IP address)
* The Destination name can be anything you like, as it is only for differentiation purpose from your side.
Step 3 :
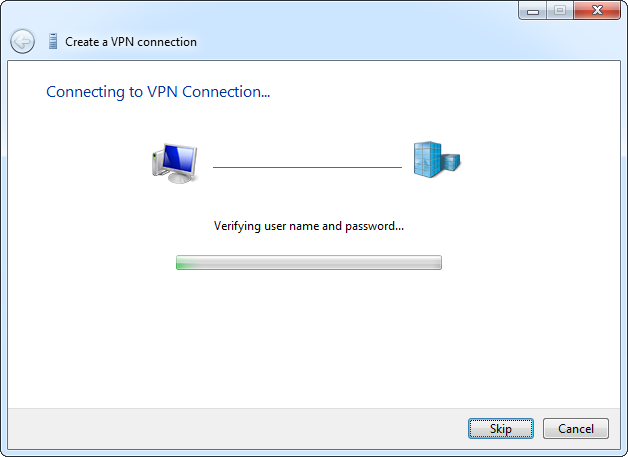
* Enter the login credentials on the next screen.
* Windows will connect you to the VPN you have configured.
And that’s it! You can also see this connection in your “Networks and sharing center”. For connecting to the already created connection or deleting the existing connection, you can access it from here.
For Windows 8:
Step 1 :
* Follow the same Step 1 from above.
Step 2 and Step 3 : Refer the above steps for Windows 7.
Step 4 :
* In the Networks pane, select the VPN you added and click Connect.
* Enter the username and password credentials and connect to the VPN.
* To access the Network pane in the future, click the network icon in the system tray or open the charms bar, select Settings, and then Network.

