Recently due to some issue I had to re-install Windows 10 OS on my Lenovo Ideapad laptop. The installation went on well and the system came up. But then observed that booting of the OS was taking a lot of time, and once booted completely the system was quite slow. Upon investigating, found that my system drive is running 100% always ! Surely this can’t be right as I wasn’t running any applications.
How to find the system drive running 100%
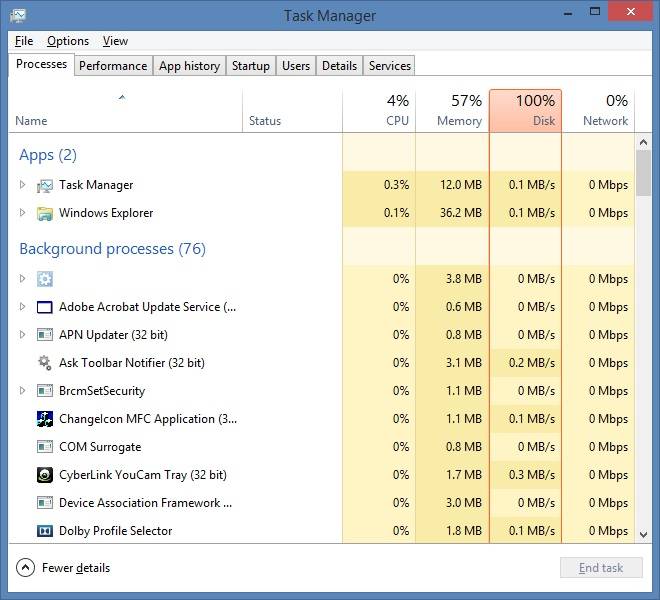
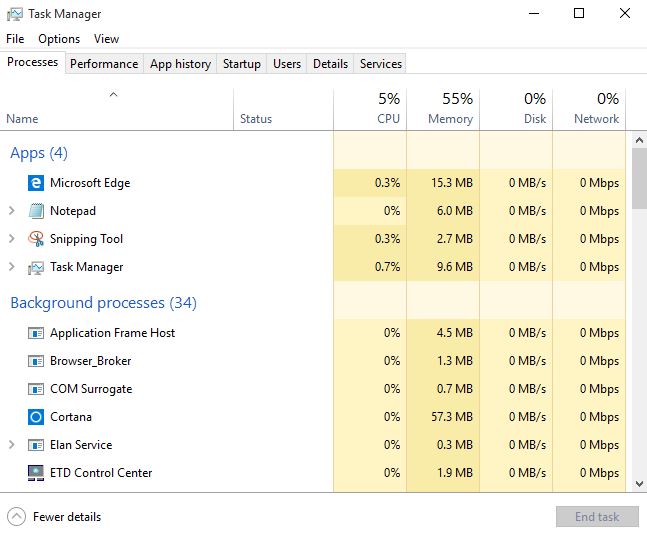
Open Task manager by CTRL+ALT+DEL and select Task Manager. Alternatively, right-click the Taskbar and select Task Manager. Be patient, as it might take some time to open with the drive being slow.
In the Processes tab, look for the Disk column. If there is any problem with drive, then the task manager will report it as 100% usage and the disk column tab would be colored red. I also ensure that the system is not infected with virus or malware (as the anti-virus signatures are up-to-date) and of course it is a fresh installation and expected to be clean.
Solution:
Stop Superfetch Service
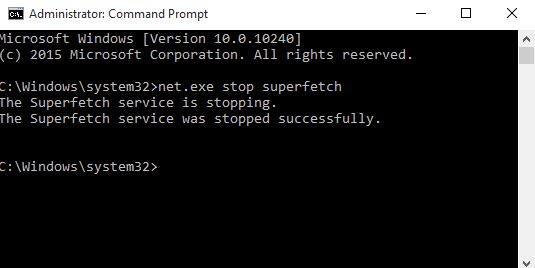
Superfetch is a service in Windows that’s designed to speed up app launching by preloading certain apps based on your usage patterns. Superfetch service has been identified as a potential cause of these disk performance issues in Windows 8.X and Windows 10. To stop the Superfetch Service and disable it permanently, open the command prompt with Administrator privileges and run the command net.exe stop superfetch as shown below:
How to disable Superfetch Service
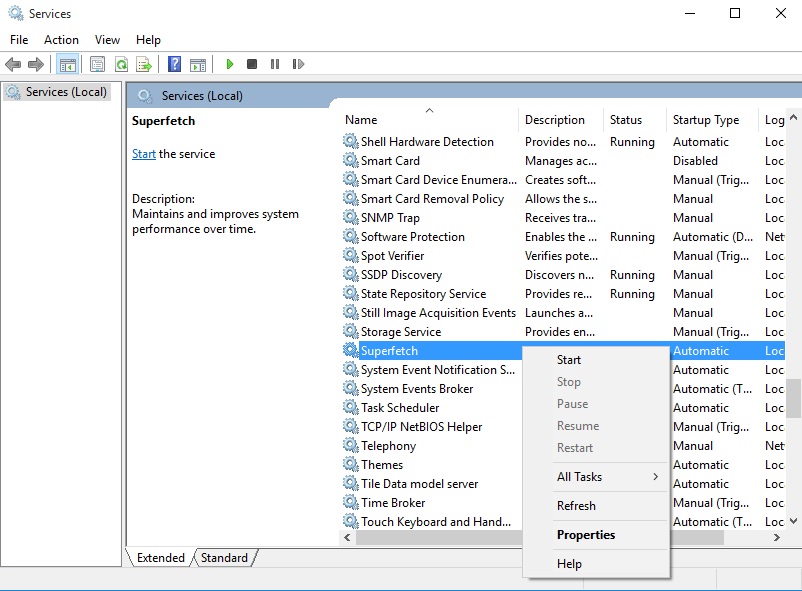
Hit windows key and press R (Windows + R). Type services.msc and hit enter to open Services window.
Under the list of services, scroll down to find Superfetch and right-click on the Superfetch service as shown below:
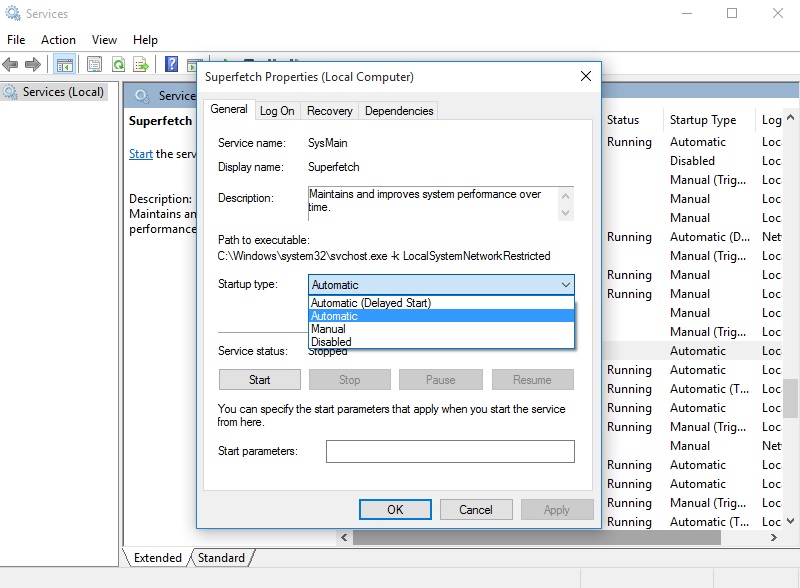
Click on Properties and select Disabled under Startup Type.
Voila! After disabling Superfetch service, the task manager showed the normal disk usage.


The disabling of Superfetch Service did the trick. R
This was super helpful. Thank you!