Undoubtedly, Microsoft word is one of the best Word processing software in the market. But how many of you have used this giant software for Image editing? I guess, most of us may not have even thought of using word for solving your image editing problems. But surprisingly, Microsoft Word 2010 can be used for Emergency Image Editing. What’s that? Imagine if you are in a net cafe and didn’t find any image editing tools? Well! never mind, Microsoft Word 2010 is there for you.
Insert an Image to see the Picture Tools
Microsoft Word 2010 comes with a “Picture Tools” that has plenty of image editing options. But to see this toolbar, you will have to insert a picture. As soon the picture is inserted, you can find a “Picture Tools” tab on top the word.

Add effects to your image
The “Picture Tools” lets you to apply “Frame” to your image – Beveled Matte, Metal Frame, Double Frame, Thick Matte, Beveled Oval, Compound Frame, Snip Diagonal Corner, Rotated Frame, Relaxed Perspective and Moderate Frames. You can soften your image with shadow effects using “Soft Edge Rectangle”, “Center Shadow Rectangle”, “Bevel Perspective”.
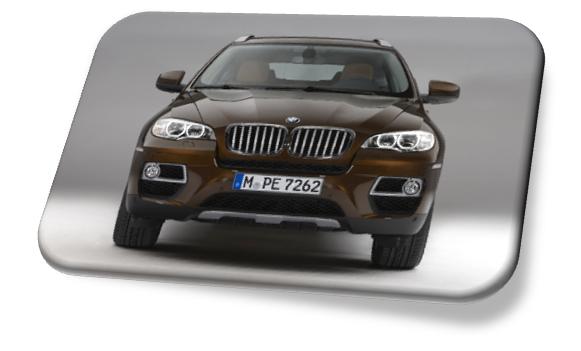
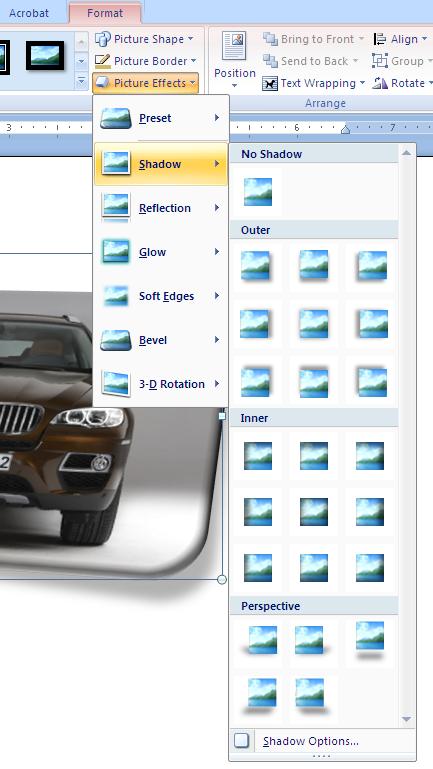
Click on the “Picture Effects” pull down menu from the “Pictures Tool” tab. Here you can find variety of picture effects to choose from – Shadow, 3D effects, Rotation, Presets, Reflection, Soft Edges, Glow, Bevel, Soft Edges.
Re-color, Enhance Brightness and Contrast
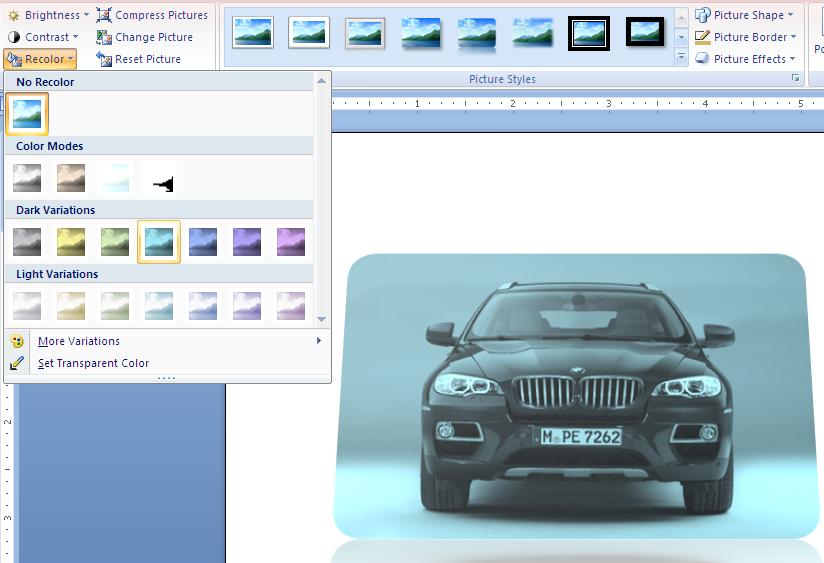
You can improve the image contrast and Brightness by clicking the options on the left corner of the “Picture Tools” tab. You can choose filter kind of effects by choosing “Re-color” option – this feature will let you to recolor the image in different color modes. You can choose from Light and Dark color variations.
Embed an Image inside a Shape
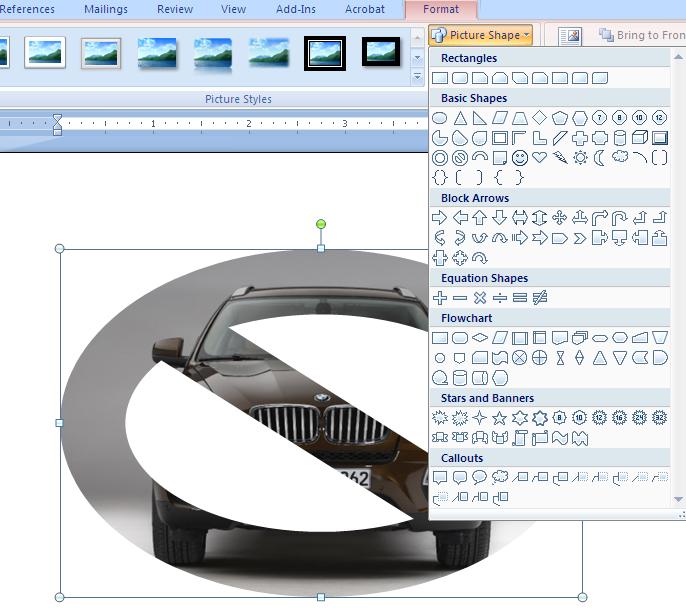
You can make use of the various shapes and an image to create an interesting graphics. Like you can insert an image inside a triangle, circle, cube, hexagon, cylinder, lovely heart etc…
Click on the “Picture shape” pull down to choose the shape you like to embed the image.
Remove the background of an image
1. Under Picture Tools, on the Format tab, in the Adjust group, click Background Removal.
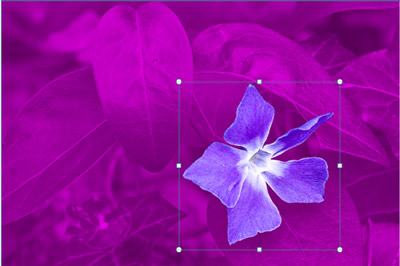
2. Use the handles on the marquee lines and then drag the line to choose the part of the image that you like to keep and exclude the other areas.
3. To remove the background, you can either click “Mark Areas to Keep” – this will automatically remove the rest of the image or click “Mark Areas to Remove“.
Can Microsoft Word 2010 be a replacement for Adobe Photoshop or any other image editing tools?
Not at all! and this tutorial doesn’t aim to compare the Word with any other photo editing tools. But it showcases only the capabilities of Word, which might be useful in some cases.

