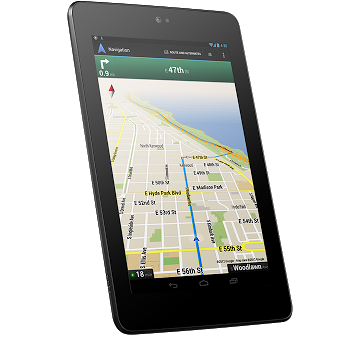
Are you happy with the performance of your Nexus 7? I happened to ask this question to two different Nexus users; the user who uses Nexus for listening to music and browsing said “Absolutely, it runs fast enough for my needs”. But the other user who is a gamer said “It’s not satisfactory, could have been better if it can load the games at jet speed”. Well, after listening to the gamer, I was wondering whether it is possible to improve the performance of Nexus. Yes of course you can, says the Androiders out there in Nexus 7 SoftModder forum@WonderHowTo. For instance, you can overclock the device’s CPU to perform faster with better performance. It means, you can tweak the Nexus 7’s CPU from 1GHz to 1.6GHz.
What are the differences you might notice after the device is overclocked?
* Obviously your device will run faster than before.
* If the device runs faster, it means your device battery is also draining out faster
* Fast…Fast…Fast…So it means the device will be Hot..Hot..Hot..expected isn’t?
Not all the Nexus device can be overclocked to same speed. Some might allow to overclock till 1.6GHz and some might allow more than that. So it varies from device to device.
I guess, you got it! Lets see how to overclock it now.
Disclaimer: Try the below steps at your own risk. Techglimpse is not responsible for any negative effect that may cause while overclocking.
How to Overclock Nexus 7?
Requirements:
A ROOTED device with a custom recovery installed. Haven’t rooted yet? Follow our guide on How to Root Nexus device and install custom recovery?
Step 1: Download Motley Kernel on your Nexus. This program will control the operations between your tablet and operating system.
Step 2: Install Motley Kernel. To do that, boot the device into custom recovery (TWRP) by switching Off the device, then press both Volume Down and Power button at the same time.
Step 3: Tap install and browse the .zip file that was downloaded in Step 1.
Step 4: Tap on it and Swipe to Confirm Flash
Step 5: Reboot the device. The device will be booted with Motley kernel. Now follow the below steps to overclock the device.
Step 6: Download BusyBox and Trickster MOD from Google Play store and install it.
Step 7: Launch BusyBox and tap “Install“. You are done with the BusyBox now. Move on to Trickster MOD.
Step 8: Launch Trickster MOD and tap “Specific” and change the GPU Max Frequency from 446 to 520. Tap the check icon to save the settings. Overclocking the GPU is done, now move on to CPU.
Step 9 : Tap “General” and change the CPU Frequency Control as Min: 1000000 and Max: 1600000. Tap the check icon to save the settings.
Step 10: To load these settings whenever the device boots up, head on to Set On Boot and check Enable.
Step 11: Reboot the device to see the difference in improved performance. Let us know if you have any problem.
We should definitely thank Danny Luo @ WonderHowTo.
ALSO READ: How to use Nexus 7′s Front Facing camera to record 720p HD video?
Checkout more tutorials on Android…


