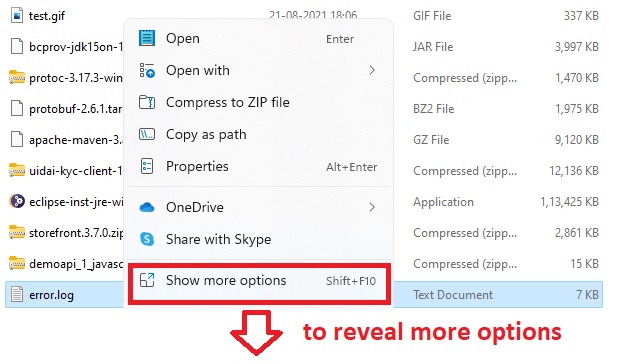
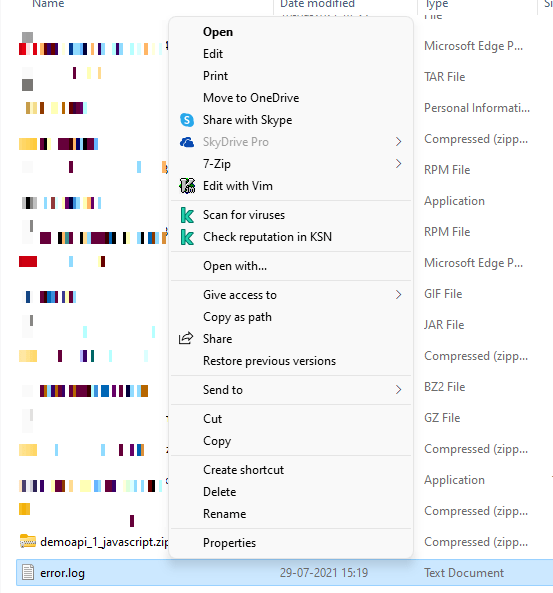
Want to bring back the old style of classic right-click context menu in Windows 11? You are not the one who’s missing it and it’s one of the most useful menus that’s now replaced with a shortened and organized one in Windows 11. Well, Microsoft has some reason for it, but I would definitely like to right-click on a text file and choose ‘Edit with Vim’, extract files using 7-zip, and scan files for viruses, etc..with a single click rather than a couple of clicks for the same operation in the new context menu. (Currently, you need to right-click to see the new context menu and then click ‘Show more options‘ to do the same operation).
What if there is a way to get back the old context menu in Windows 11? If the answer ‘yes’ will make you happy, then just follow the below steps.
Disable new context menu in Windows 11
Right-click on the desktop and click ‘Open in Windows Terminal‘ to launch the Windows PowerShell. Now copy and paste the below line in the shell to add an entry to the Windows Registry.
reg.exe add "HKCU\Software\Classes\CLSID\{86ca1aa0-34aa-4e8b-a509-50c905bae2a2}\InprocServer32" /f /veNow go ahead and right-click to see the old context menu.
So how did that work? The above line of code simply blanks the value of the registry key that is responsible for launching the new context menu – the empty value forces the Windows to fall back to the old classic menu. Simple!.
Restore new context menu
Changed your mind? You can quickly restore the new context menu by executing the below code in Windows Terminal.
reg.exe delete "HKCU\Software\Classes\CLSID\{86ca1aa0-34aa-4e8b-a509-50c905bae2a2}" /fIn similar lines, you can bring back the Ribbon bar in Windows 11 Explorer by disabling the new command bar. Wanna try that? Jump to this article.
Have a Windows 11 tip? Just leave a comment here and we will cover it in our next article.


Works, great! Reboot necessary, should be mentioned for those noobs like me who don’t code 🙂