
Do you want to delete blank rows in an Excel file, the faster way? Excel generally uses the blank rows to determine data ranges, but sometimes you might want to get rid of those. For e.g., say you want to write a simple script to parse all the rows in excel file and perform some operation. So in this case, you just want all the rows that are not empty and remove all the empty ones. This tutorial will show you the faster way to delete blank rows in an excel sheet.
Caution: This tip is a built-in feature of Excel. However, take a backup before following the below steps.
If the excel sheet that you are operating has just few blank rows, then you may delete those manually. But it’s not going to be easy with a large file that has few thousands of blank rows.
Step 1: Open the Excel sheet. In the below screenshot, the rows 1,12,13,24,25 are empty and there are few hundreds of such blank rows in the entire excel file.

Step 2: Hit [F5] to open “Go To” dialog box.

Step 3: Click on “Specials…” button.
Step 4: In the “Go To Special” dialog box, select “Blanks” and click OK
Step 5: Now, all the blanks rows will be selected.
Step 6: Click on “Delete” drop down from the Cells group and choose “Delete Cells”
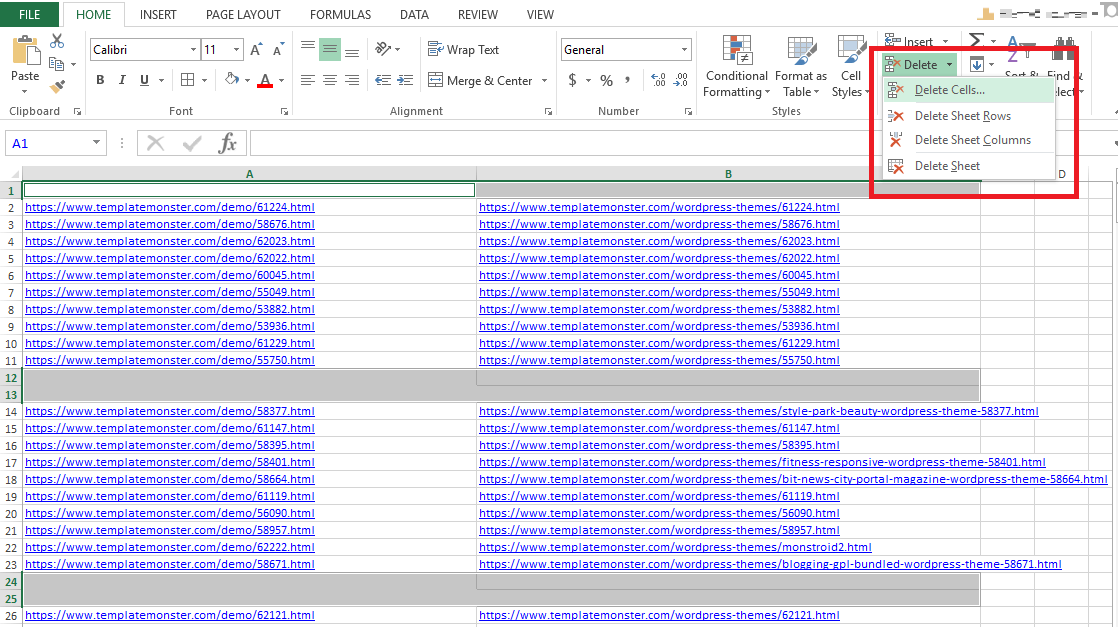
Note: Choosing “Delete Cells” will only delete the selected cells, but “Delete Sheet Rows” will delete the entire row. So you have to be careful, whether you want to remove only the empty cells are the entire empty row.
