Imagine a scenario where your operating system lets you access the control panels and other significant administration settings from a single window. How convenient and cool, right? Windows God Mode lets you do all of that. God Mode is a fancy alternative name given for the Windows Master Control Panel shortcut feature. This is fundamentally very similar to the developer settings on your smartphone. If you’re a tech enthusiast or an advanced Windows user, you might want to check this out.
In case you are feeling that the God Mode will let you explore some secret features you didn’t know about, or lets you do some tweaking unlike the standard Windows interface, you will be a little disappointed. It’s simply a special folder you can enable to access all settings including admin and management settings, as well as the Control Panel tools in a single, easy-to-scroll-through interface.
If you are tired of searching for your lost settings or if you don’t know the exact name and location of the setting you are trying to alter, you can just switch to this folder and have a look at the variety of tools. A total of 206 tools are available. The category of tools in God mode are:
|
|
Each of these categories contains a number of tools and some categories are further divided into subcategories, implying that you’re well on the way to find precisely what you’re looking for. Although, you should be a little cautious while using it, else you will end up harming your OS.
The God Mode was first introduced for Windows 7 and has been around ever since. Here are the steps to enable it on all versions of Windows 10:
- The first step is to make sure you’re using an account with administrative privileges. To confirm which account you’ve signed into, go to Settings>Accounts>Your info.

- Now that you’ve logged into an Administrator account, choose a location where you want the God Mode panel to be created. A good choice would be desktop but if you’re fond of having a minimal desktop setup with no icons, you can pick any other location. You can also move the folder around once it’s created.
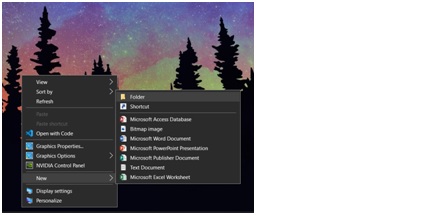
- Create a new folder in the selected location.
- Rename the folder as “GodMode.{ED7BA470-8E54-465E-825C-99712043E01C}”.

There you have it. The folder now has the icon of Windows Control panel and no label. The label you pick will be visible in the title bar when the folder is open.

Congratulations! You have unlocked God Mode.