If you are working with multiple sheets in Excel and want to compare each other, then here’s a quick trick that lets you to arrange Excel sheets side by side or cascade or horizontally. For the demonstration purpose, I am going to use Office 2010. But these steps should work on Microsoft Office 2013 as well.
Here we go,
Step 1: Open the Excel sheets that you wish to work at the same time.
Step 2: On any of the sheet, click “View” from the navigation menu.
Step 3: Click “Arrange All“.
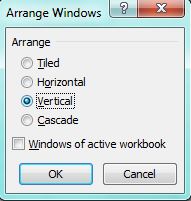
Step 4: Excel will open a dialog box, where you will find options like Tiled, Horizontal, Vertical and Cascade.
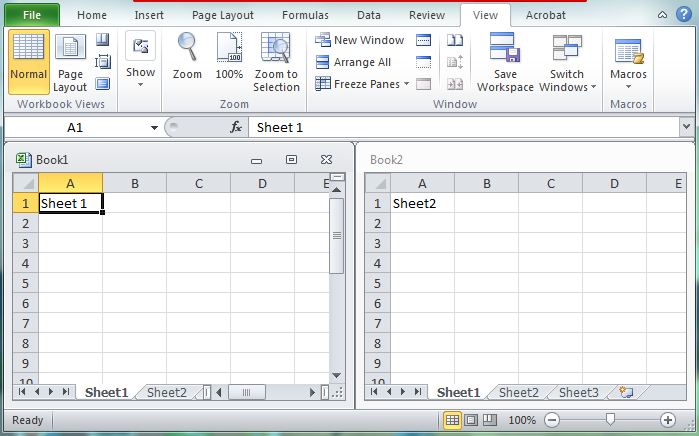
Step 5: Choose “Tiled” or “Vertical” to place the sheets side by side.
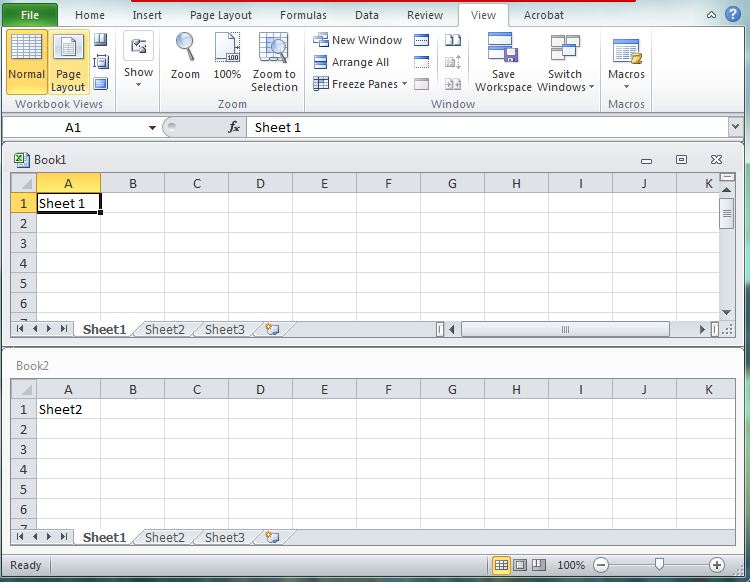
Choose “Horizontal” to place the sheets one after another.
Choose “Cascade” to place the sheets one over the other. That’s it.


