Accessing desktops on road was never this easy. In the initial days, Teamviewer was released only to connect between two computers. Now it is also available for Android, Windows Phone and iOS devices. This free application allows you to connect to remote desktop or device around the world in less than few seconds. The app helps you to remote control partner’s PC to troubleshoot issues, to work from home and to provide remote maintenance.
Ok! Lets see how to setup Teamviewer on your Mobile and desktop.
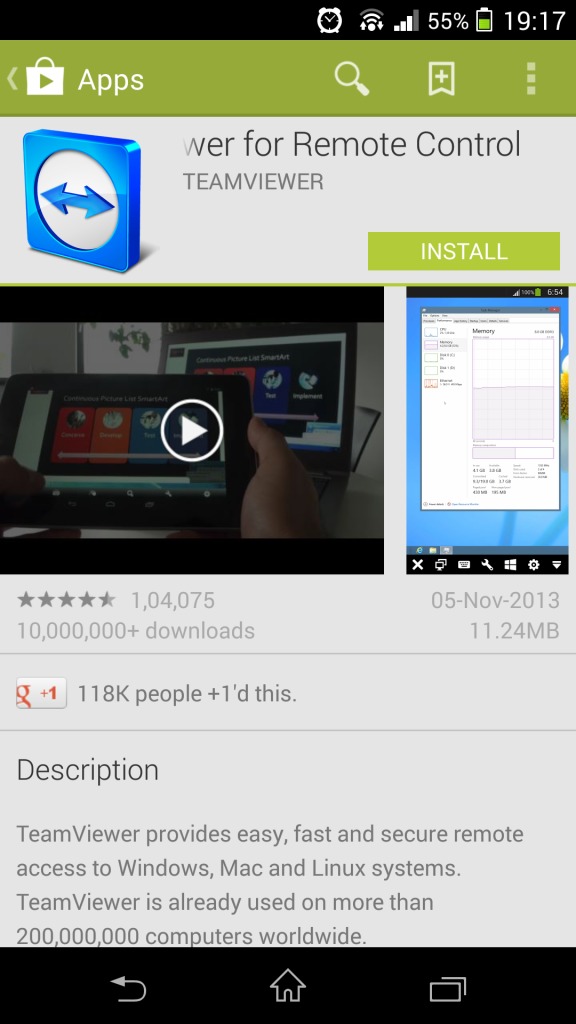
Step 1: Install the application on your Android or Apple phone or tablet. Since I have an android phone, I looked up for TeamViewer in the Google Play Store to get this.
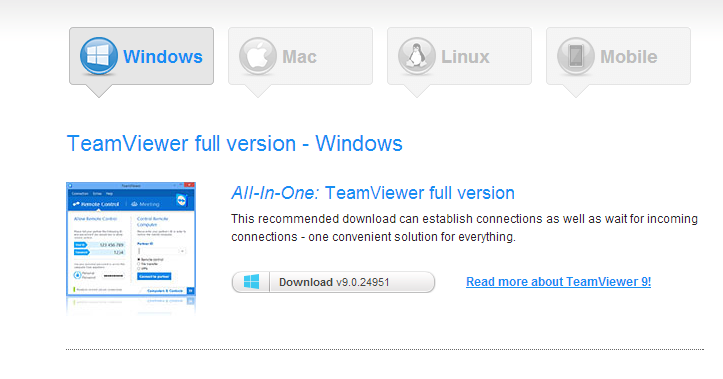
Step 2: Install the application for your PC or Laptop. There are different files for different OSs. Since, I primarily use Windows 8, this is how it looked for me.
Step 3: Proceed to complete the regular formalities. Till you find the ‘finish’ button.
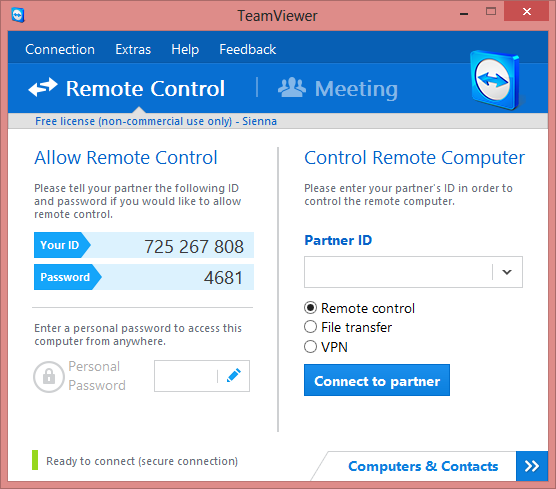
Step 4: You will find a screen of this sort with an ID and a password in your remote laptop or PC that you want to connect with.
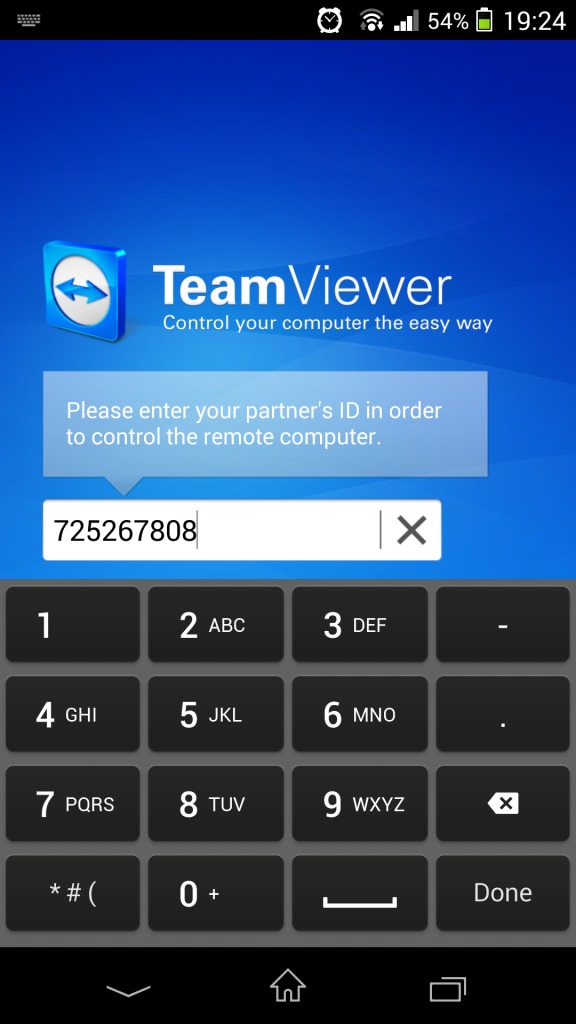
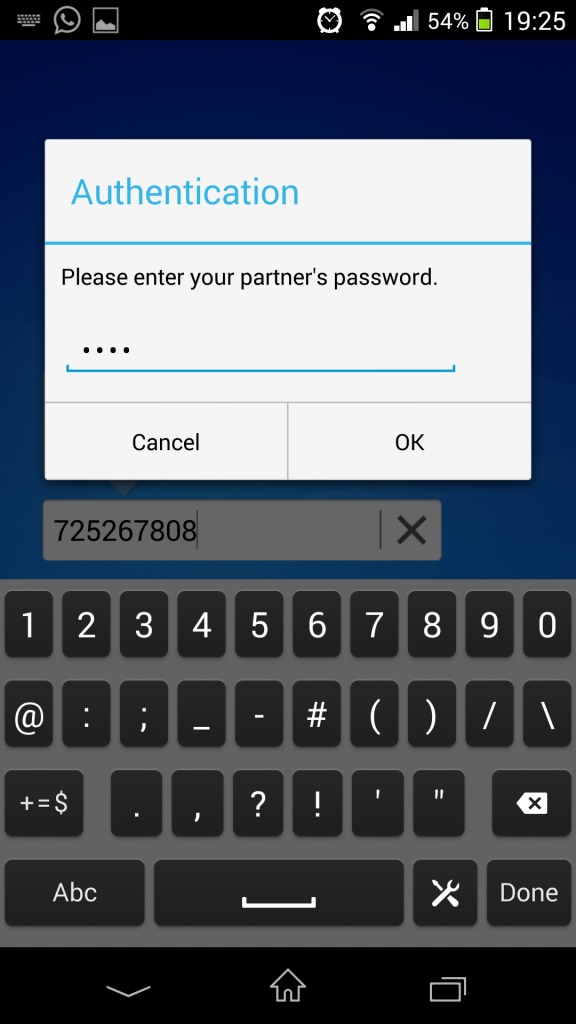
Now, you have to type in the ID and password in your phone or tablet.
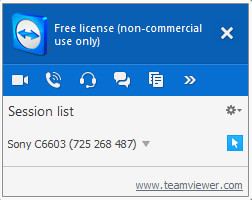
My laptop displays a box of this sort in the bottom right which you will shortly see displayed on my phone as well.
Step 5: Voila, your phone or tablet is now connected to your PC or Laptop. You app will guide you to the gestures you can use to make the experience better.
I leave the exploration part to you. Especially because it varies with different OSs.
Step 6: To close the connection, click on the X button in the left bottom of your application. Both the applications in my phone and my laptop thanked me for using the application for non-commercial purposes and that’s that. 🙂

