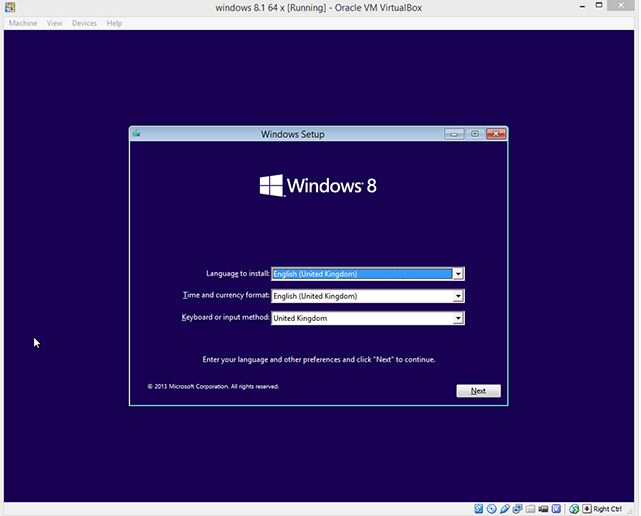
Just a day ago, we learnt how to install Oracle VirtualBox in Windows. Let’s now try to install Windows 8.1 operating system in VirtualBox. All you need is a working VirtualBox software and Windows 8.1 ISO image. If you don’t have license keys, then you may try out Windows 8.1 Evaluation.
How to download Windows 8.1 Evaluation?
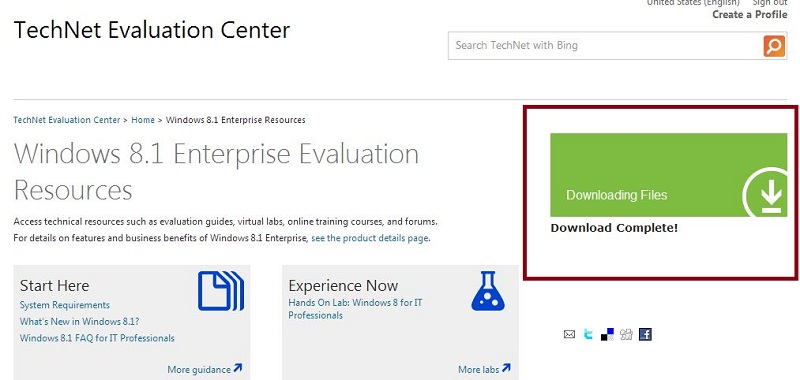
Step 1: Download Windows 8.1 90-days evaluation from Microsoft website.
Step 2: Fill-in basic information and choose the architecture type (32bit or 64bit)
Step 3: Microsoft will suggest you to install Akamai Netsession Interface Control Panel (it acts as a download manager to speed up the download). So download and install it. Once installed, Windows 8.1 ISO image will be downloaded automatically and you can see the progress in the Microsoft website.
Ok! You have successfully downloaded the ISO file. I’ll also assume that you have VirtualBox installed already. If you haven’t installed yet, check out this guide.
How to install Windows 8.1 in VirtualBox?
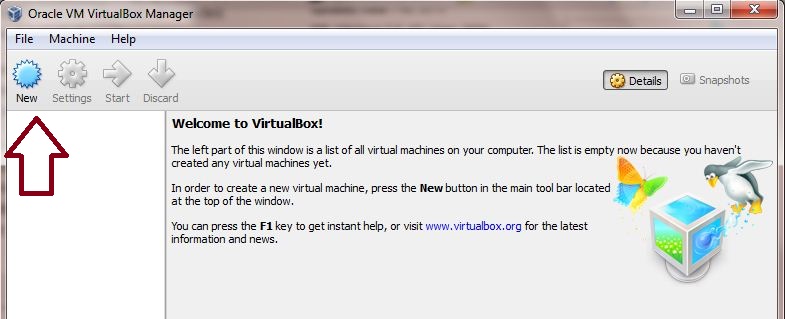
Step 1: Launch the VirtualBox and click “New” button.
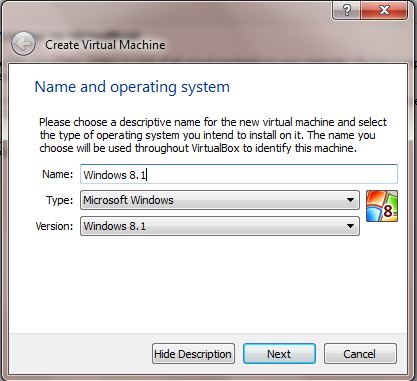
Step 2: Upon clicking ‘New’ button, you will see a dialog box where you can set Name, Type and Version of the operating system. Once done, click Next button.
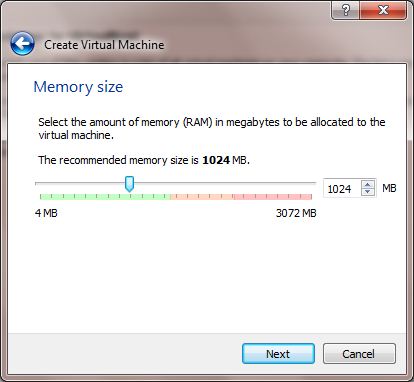
Step 3: The next screen will allow you to set Memory size. In most of the cases, the recommended size would be enough.
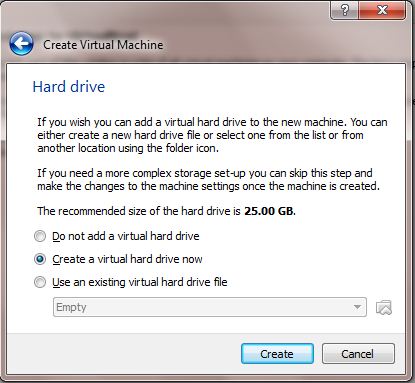
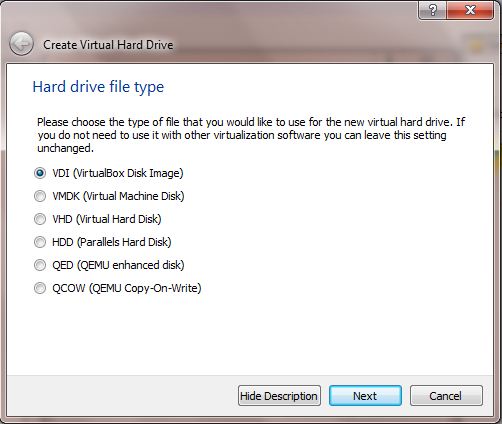
Step 4: Create a Virtual hard drive now. Use the default “VirtualBox Disk Image” as the hard drive file type and click “Next”.
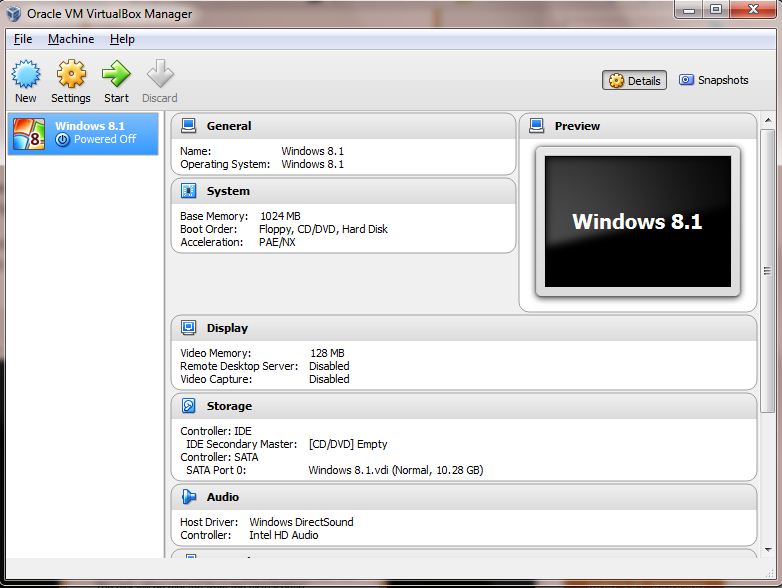
Step 5: The next screen will ask you to choose the new Virtual hard disk to be dynamic or fixed. I’m going to choose fixed size and once done, you will see the VM created as shown below.
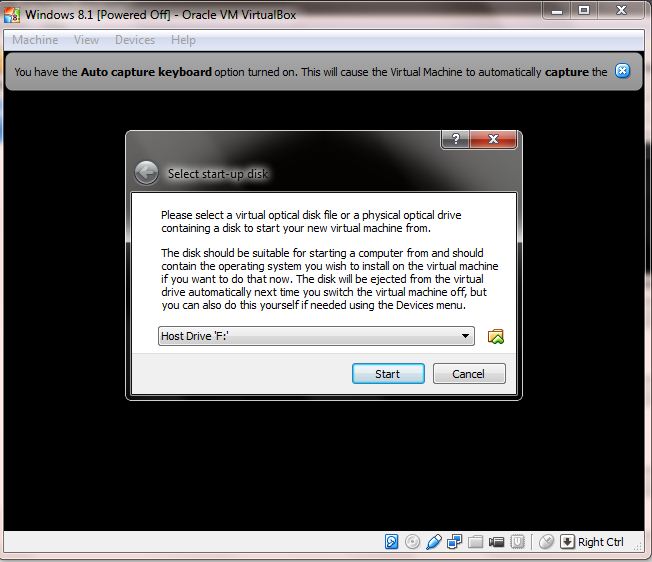
Step 6: Now select the newly created VM and click “Start” button. In the dialog box, browse and load the downloaded Windows 8.1 ISO image.
Step 7: Click “Start” and Windows 8.1 should load in few minutes. Thereafter you can install the OS using the onscreen instructions.
Troubleshooting
In few machines, you might have problem in starting the VM. For example, the VirtualBox might throw an error as “0x0000005d” and suggests you to reboot Virtual PC. The issue might not be solved, even if your PC is rebooted. There are plenty of reasons why virtualization doesn’t work on your computer. It depends on hardware and your BIOS settings sometimes. But the below solution worked for me.
Sometimes you can get rid of the issue by changing a setting in system properties. To do that, right-click on MyComputer > Properties > Advanced system settings > Advanced (tab) > Settings (under Performance) > Data Execution Prevention (tab) and change the setting from “Turn on DEP for essential Windows programs and services only” to “Turn on DEP for all programs and services except those I select”. That’s it!
Are you getting the below error message:
Error: “VT-x/AMD-V hardware acceleration is not available on your system. Certain guests (e.g. OS/2 and QNX) require this feature and will fail to boot without it”
Solution:
- Check whether your processor supports Virtualization. If you are using Intel powered desktop or laptop, then checkout this guide to know whether your processor supports Intel VT-X.
- According to Intel, a processor with Intel VT doesn’t guarantee that virtualization will work.
A processor with Intel VT does not guarantee that virtualization will work on your system. Intel VT requires a computer system with a chipset, BIOS, enabling software and/or operating system, device drivers, and applications designed for this feature.
- Also check your BIOS to know whether it includes a setting to enable or disable support for Intel VT. If you find one, make sure it is enabled.

