Oracle’s VirtualBox is a virtualization software for X86/AMD based server and desktop. It supports Linux, Windows and Mac machines, and requires minimum 1GB of free RAM and 10GB of disk space. Installing and using Virtual box is quite simple. All you need is to follow the below guide.
For demonstration purpose, I will be installing VirtualBox 4.3.6 on Windows 7.
Step 1: Download VirtualBox from its official website.
Step 2: Once downloaded, double click “VirtualBox-4.3.6-91406-Win.exe” file.
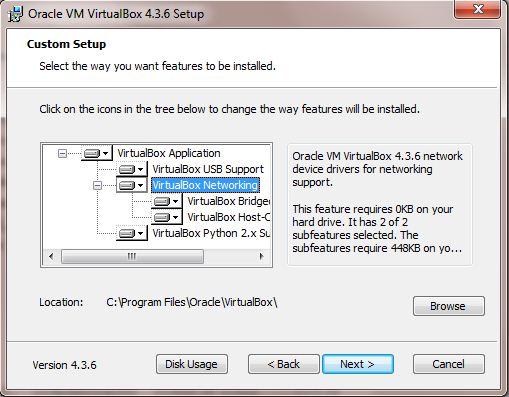
Step 3: Clicking the Next button will ask you to customize the installation. In this wizard, you can choose to install VirtualBox’s USB, Networking, Bridged Networking, Host-Only Networking and Python 2.x support. Make sure you choose the installation location with enough free space.
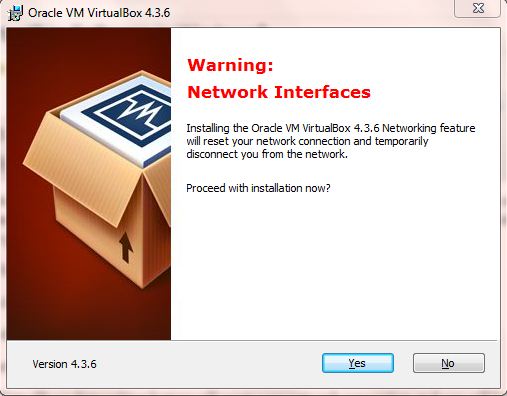
Note: During the installation, the VirtualBox’s Networking feature will reset your network connection and you will be disconnected from the network temporarily.
Step 4: Upon clicking “Yes”, the software will be installed. You may have to provide necessary privileges to install each support enabled in step 3.
That’s it! You have installed the VirutalBox successfully.
How to install VirtualBox Extensions?
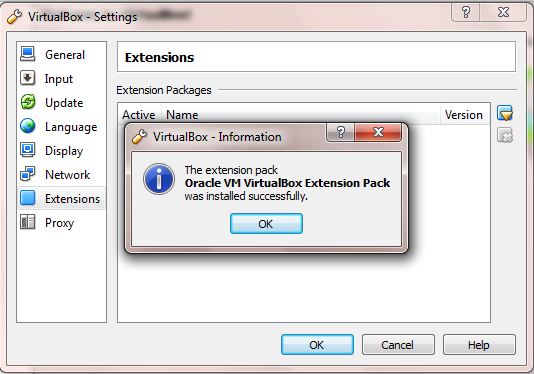
Step 1: Download VirtualBox’s extension pack, which includes VirtualBox RDP, USB 2.0 and PXE boot for intel cards.
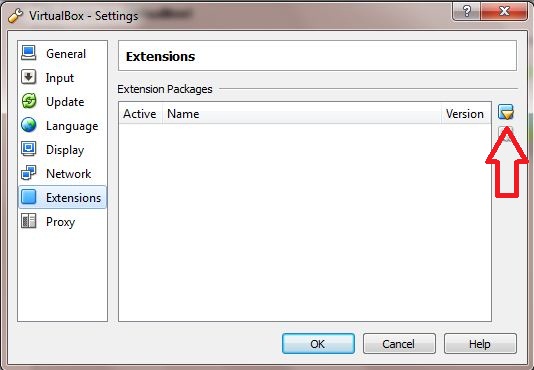
Step 2: Launch VirtualBox and click File > Preferences > Extensions
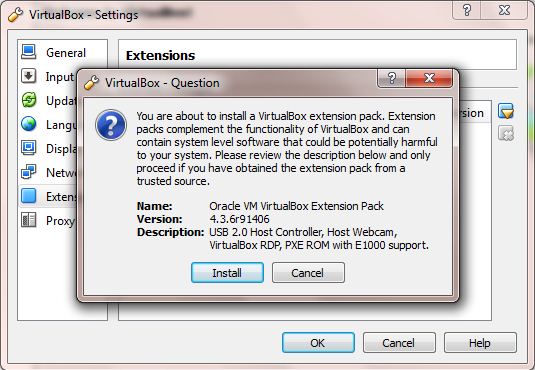
Step 3: Browse and add the extension pack downloaded in Step 1.
That’s it!
Also Read: Learn to create a VM and install Windows 8.1 on it.
How to identify whether your processor supports Virtualization?
Thanks to a friend @ Skvnet.org

