Ever wanted to run Android on your desktop? Be it a Linux or Windows PC, you can now Android operating system with the help of virtualization or using BlueStacks. However, this tutorial is meant to help you install Android 4.3 in oracle VirtualBox.
Prerequisites:
- A Virtualization supported PC. Here’s a guide to check whether you PC supports virtualization.
- Download and Install Oracle VirtualBox. Here’s our guide to help you install VirtualBox on Windows | Linux
- Download Android-x86 ISO image – Android-x86 project has ported Android operating system to the x86 platform from ARM.
Installing Android on VirtualBox
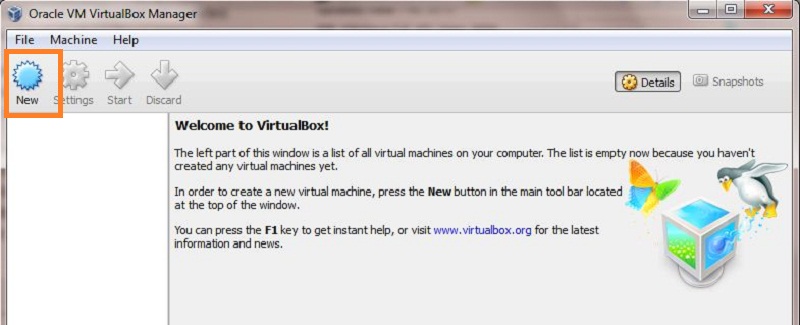
Step 1: Launch VirtualBox and click “New” button to create a new virtual machine.
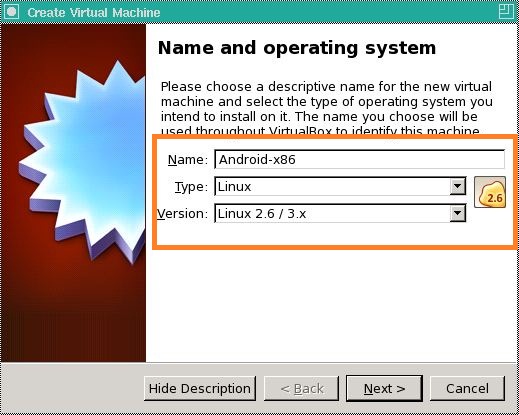
Step 2: Enter the below details
- Name : Android-x86
- Type: Linux
- Version : 2.6/3.x
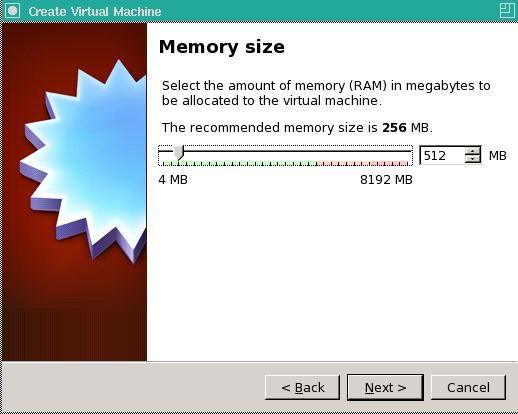
Step 3: Go through the wizard and set memory and hard disk size.
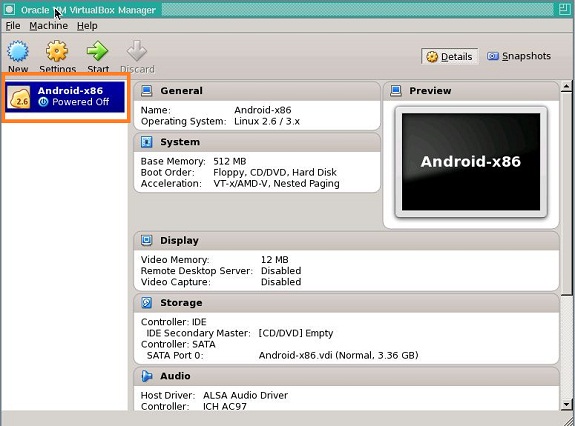
Step 4: Once the virtual machine is created, double click on it to boot with the downloaded Android ISO image.
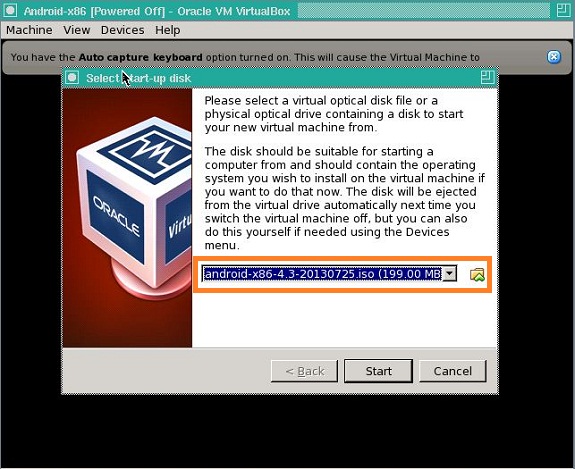
Step 5: Load Android-x86 ISO file and click “Start” button to boot the Android installer inside Virtual machine.
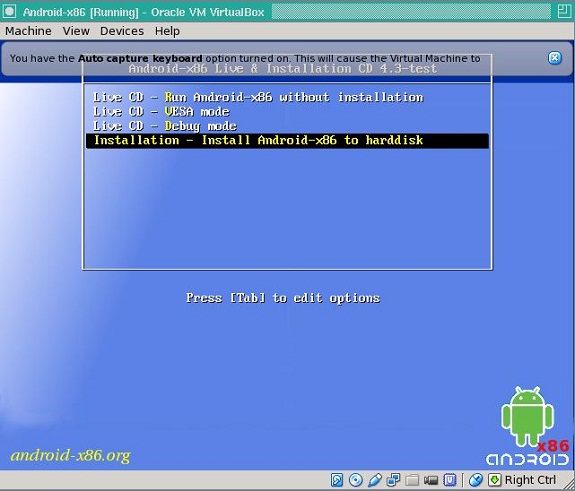
Step 6: Select the Installation option as shown below
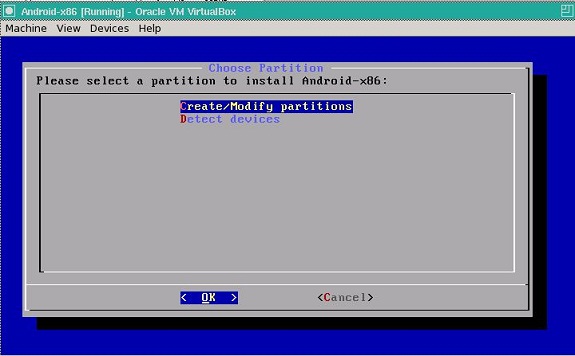
Step 7 : Create Partition as shown below
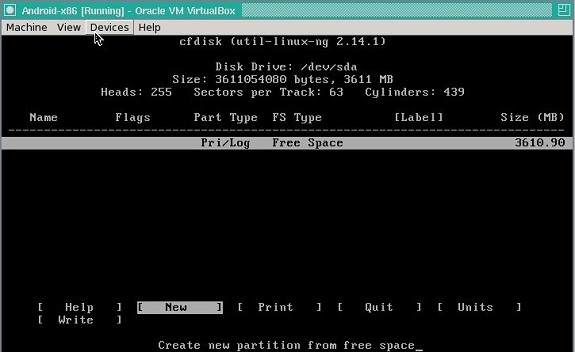
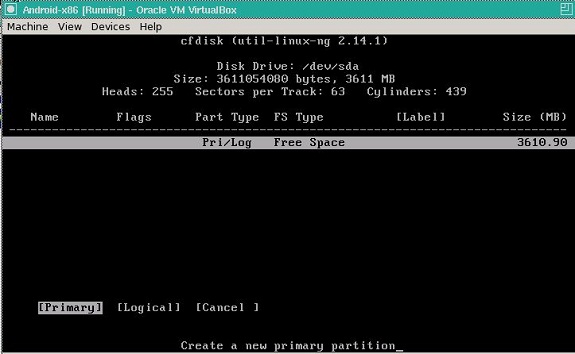
Step 8 : Use arrow keys to select New option and hit Enter to create new partition.
Step 9: To create primary partition, choose Primary option and hit Enter. In the following screen, hit Enter again to allow the partition to occupy the entire virtual disk.
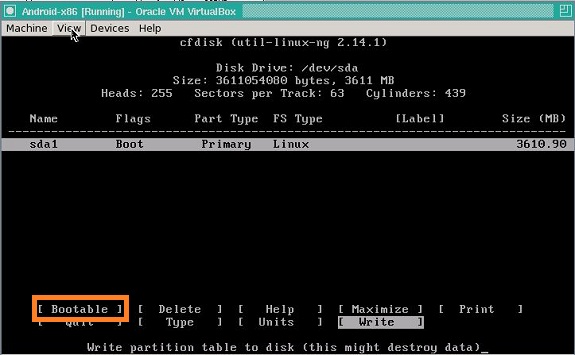
Step 10: In the following screen, highlight Bootable option and hit Enter to mark the partition bootable. Using arrow keys, select Write option and hit Enter to write changes to virtual disk. You may have to type yes and hit Enter to write the changes.
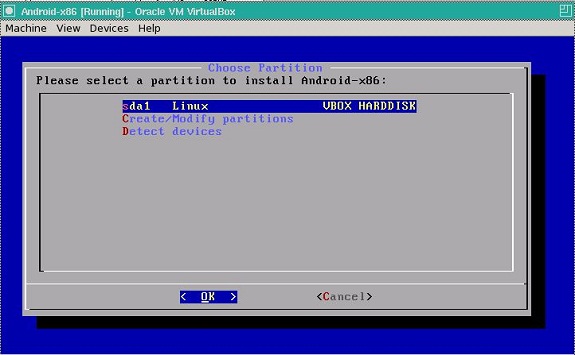
Step 11: Once done, select quit to move back to partition screen – where you can see the newly created partition.
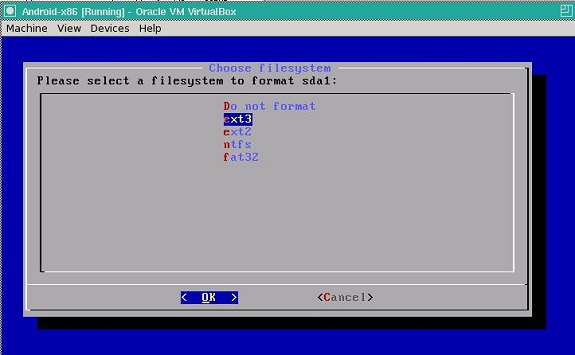
Step 12: Select the new partition and hit “OK“. In the next screen, select ext3 as file system and select OK > Yes to format the partition.
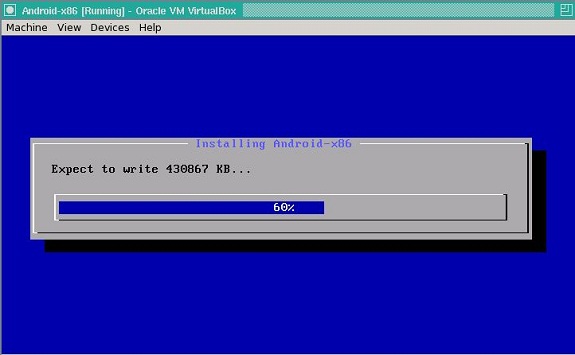
Step 13: In the next screen, install GRUB bootloader by pressing Yes. You should see the GRUB installation as below.
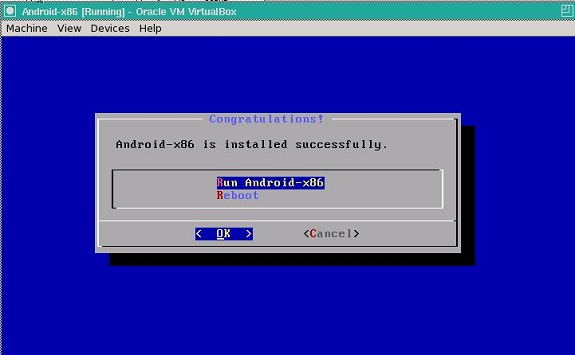
Step 14: That’s it! You can start the Android operating.
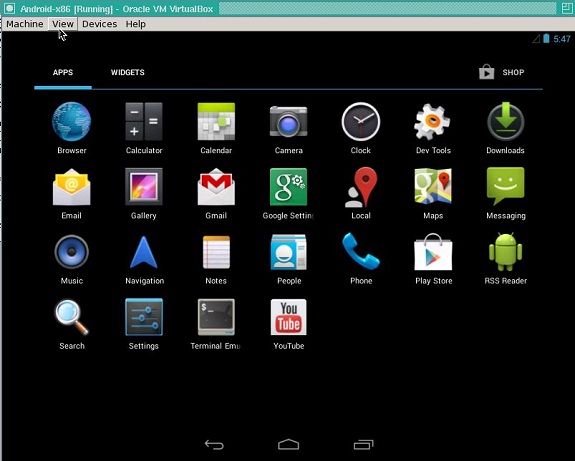
Step 15: Go through the Android setup and finally you should see the Android Homescreen. Below is the snapshot of Android Apps screen.
Watch the process in action!

